The Ultimate French Macaron Post
If you’ve been wanting to make macarons but have felt slightly intimidated by the process, then this guide is for you. We’ll go over the process of making macarons, tools you’ll need, common mistakes and pitfalls, and the fun part-the yummy flavors you can make.
Macarons have a reputation for being difficult-and if you’ve ever had cracked shells or hollow centers, you’ve probably seen why. The good news is that they’re not impossible. They just require a few key techniques and a bit of precision.
In this guide, I’ll walk you through the full process, common mistakes, and how to get consistent results- plus ideas for flavors once you’ve got the basics down.
Macaron Baking Supplies
The baking supplies for macarons are pretty basic, and you may have most of what you need. The items in the list below are what I use and why I specifically like using these tools. I have included links so you can see what the items look like. They are not paid links; it’s just to show the items I use.
- Stand mixer– I love using a stand mixer to make the meringue. You could use a handheld electric mixer, but then you have to stay there and only do that one task. With the stand mixer, you can walk away. Not that I would recommend wandering too far away because you still need to watch it, you just have more freedom than you would with a handheld mixer. Plus its easier on the hands. Be sure you only use a metal or glass bowl for meringue. Plastic can harbor fat residue making it impossible for the meringue to form. Fat breaks down the structure of the meringue.
- Kitchen scale– you don’t need anything fancy, just a basic kitchen scale. I highly recommend weighing macaron ingredients as this allows for more precision than measuring cups.
- Metal or glass mixing bowl- this is for mixing the macaronage. A basic mixing bowl is all that is needed. I really love this metal mixing bowl.
- Spatula– I use a spatula that has a flat edge and a rounded edge. I love using the rounded edge to scrape the sides of the bowl, helping to make the perfect macaronage. Also, I recommend a stiffer spatula over a flimsy one. A flimsy one will not be able to mix the macaronage like we need, resulting in less than ideal macarons.
- Piping bags and tips- I personally love using a reusable piping bag as it prevents more stuff being thrown away. You can also use the one time use bags. You’ll want a bag that is rather large, not small. There is quite a bit of macaronage and you want to prevent having to refill your bag in the middle of piping the shells. As for piping tips, to pipe the shells, I use the Wilton 12 tip. For piping the filling, I use the Wilton 4B and 2A. I have also started using the Sultan tip for any macarons that need a dam to surround a softer filling, such as curds and jams. You can experiment with other tips to find what you like the best.
- Baking sheets– A regular baking sheet is what you’ll need for baking the shells. Two actually. I bought new ones that I use specifically for macarons. I find that if they are used for everything, they can get warped and gunky. I like having sheet pans that I only use for macarons.
- Silicone mats or parchment paper- I use silicone mats with the circles pre-printed on them. Again, I like having less things to throw away. I’ve never used parchment paper, but I know a lot of people like to use it. I really like having the circles printed on them so there is one less thing to get wrong. Lol! You can use parchment paper, but then you are free-handing your circles. Even if you are really good at freehanding, you still may not fit as many shells on there as if you were using the mats with the circles printed on them. Do not use wax paper! It can melt in the oven.
- Small bowls– I use small, glass bowls to weigh my ingredients into. For your egg whites, only use a glass or metal bowl as plastic can harbor fat residue, the enemy of a perfect meringue.
- Fine mesh sieve– there is such a thing as too fine a mesh. The first sieve that I used was very fine, and it took me a long time to sift the flour/powdered sugar. It was really hard on my hands. The one I use now is just a bit less fine, and it works wonderfully. Partnered with almond flour that’s finely sifted, this setup is perfect for me.
Ingredients

The basic ingredients for macarons are simple. There are only five so you want the best you can get.
- Almond flour You want almond flour that is fine-ground and sifted. It will say this on the package. I really appreciate almond flour that has already been sifted, as this means I only need to sift it once. I’ve got a bit of arthritis in my hands, and sifting the almond flour and powdered sugar can irritate it a bit.
- Powdered sugar This is one ingredient where you don’t need anything fancy, just your basic powdered sugar.
- Egg whites The best meringue starts with strong egg whites. You want to buy the best eggs you can afford. If you have access to farm-fresh eggs, use those.
- Sugar I use granulated sugar in my macarons because it is what I have on hand. Many recipes use castor sugar (super-fine sugar) as it dissolves quicker in the egg whites. I have had no issues with granulated sugar dissolving properly in my egg whites. I have even felt it afterward, and it is not gritty. That said, I do feel that castor sugar can help you be more successful when first starting out as it is slightly more forgiving than granulated sugar.
- Cream of tartar Although you don’t have to use it, it is extra insurance that your meringue will whip up beautifully. Why not take all the help we can get? Cream of tartar is an acid, and it helps stabilize whipped egg whites so your meringue holds its shape better and is less likely to deflate.
- Flavoring You can add a tiny amount of extract to the egg whites before you whip them. No more than 1/2 a teaspoon or you can weaken the structure, making it harder for the egg whites to form the meringue. The real flavoring for the macarons is in the filling.
- Food coloring To color the shells, you want to stick to gel or powder food coloring. Regular food coloring adds too much liquid which can affect how well your shells bake up.
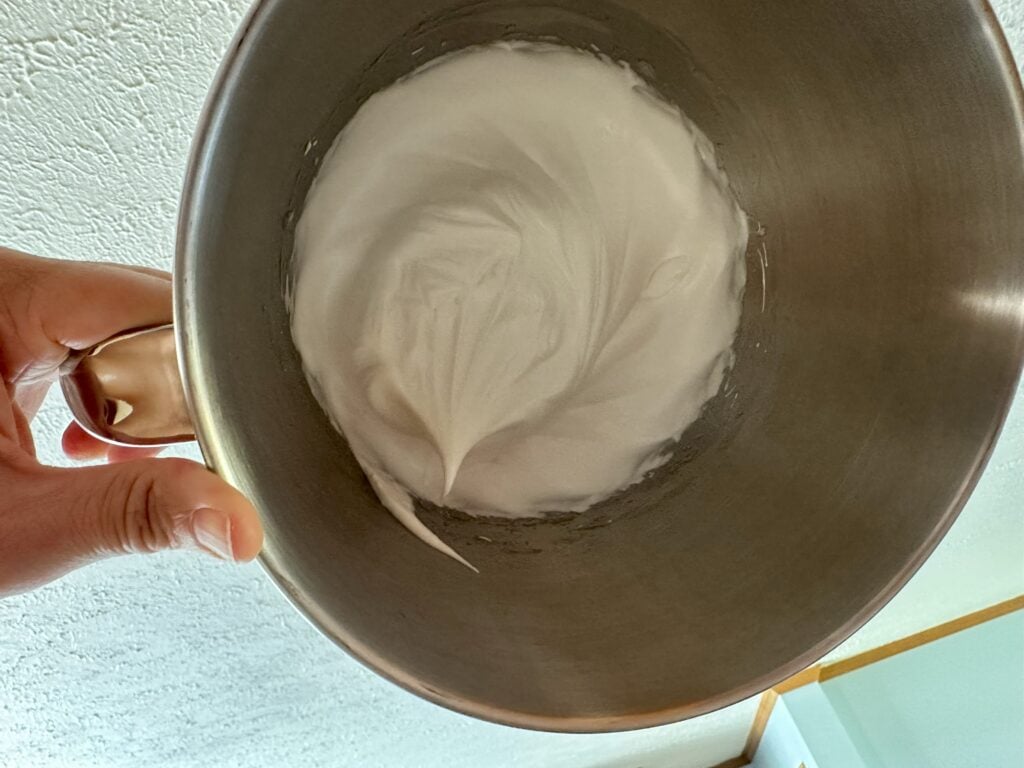
Making Meringue
The perfect meringue is the base of the shells. You want a stiff meringue that doesn’t move once it’s made. When you take the whisk out of the meringue, it should stand straight up with a slight curve. You’ll also notice this on the whisk. You should be able to turn the bowl upside down without the meringue moving. Before making the meringue, wipe down the bowl and whisk you’ll be using with vinegar or lemon juice. This gets rid of any fat residue that may be in the bowl. Fat disrupts the creation of meringue.

To make the perfect meringue, we need to start with fresh egg whites. I personally prefer using farm-fresh eggs, but any eggs will do. Do not use liquid egg whites or meringue powder. Liquid egg whites are pasteurized, which is not ideal for making meringue. Meringue powder is not strong enough to form and hold stiff peaks.
I do like to separate my egg whites ahead of time, up to 24 hours. This is the aging process and can reduce excess moisture in the egg whites and relax the proteins, helping the egg whites to whip a bit easier and sometimes with slightly more volume. I have made meringue successfully with and without aging my egg whites.
And I always use cream of tartar when making meringue. It’s just a little bit of extra insurance that your meringue will whip up beautifully.
Common Issues
- Grainy meringue– caused by adding sugar too quickly to the egg whites. Add sugar in small batches and mix for a few seconds in between each addition. Using castor sugar can help mitigate this problem as it dissolves more quickly. That said, I have used granulated sugar successfully multiple times by making sure I allow the sugar to dissolve in between additions.
- Over-whipped meringue– the meringue structure has started to break down due to over-whipping. It looks dry and clumpy, and dull instead of glossy. You want to whip your meringue until it forms stiff peaks. Once it does, do not continue whipping.
- Under-whipped meringue– is caused by meringue that hasn’t been whipped long enough. It will be runny and not stiff. You want to whip the meringue until it forms stiff peaks. When you pull the whisk out of the meringue, it will form a peak that stands straight up with no more than a slight curve.
Making Macaronage
Macaronage is the name of the macaron shell batter. It is the meringue, almond flour, powdered sugar, and any flavor additions all mixed together to make a cohesive batter. You are essentially deflating the meringue as you mix it together with the flour and sugar. You can tell the macaronage is done when it flows off your spatula like honey. Once you’ve made macarons multiple times, you’ll start to recognize when it reaches this stage, but until then, you’ll want to perform the figure eight test. The figure eight test is when you let the macaronage flow off of your spatula and make a figure eight pattern. It should sink back into itself after 10 seconds when the macaronage is ready.

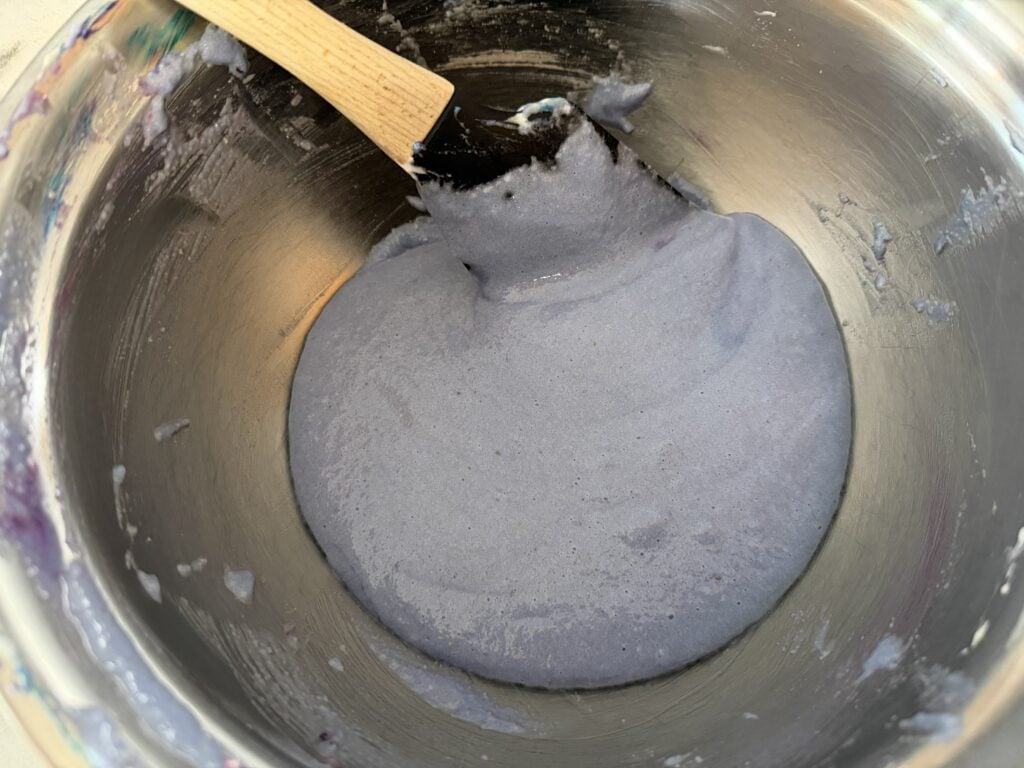
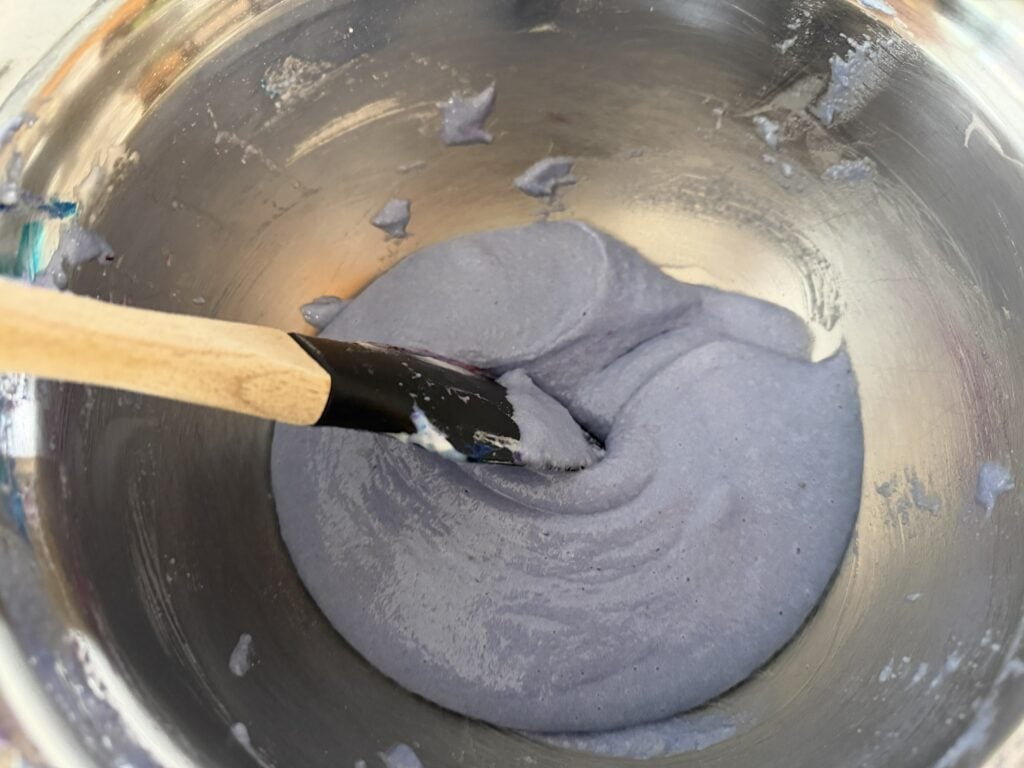

When I make the macaronage, I first mix the meringue and flour/sugar together until it is completely mixed and there is no dry matter left. Then I’ll stir for a few more passes before I check for the honey stage. If it’s not quite there, I’ll do a few more passes and then check again. You don’t want to over- or under-mix your batter as this can affect how the shells turn out.
Common Problems
- Batter too thick– thick batter is usually caused by under-mixing during macaronage or using almond flour that is too coarse. It can also be caused by incorrect ingredient measurements or an overly stiff meringue. Always use finely ground and finely sifted almond flour made from blanched almonds. Mix the macaronage until it runs from your spatula like honey. You should be able to make a figure eight with the batter, and it should sink back into itself in 10 seconds. Thick batter can also be caused by almond flour that is not finely ground or sifted properly.
- Batter too runny– runny batter is usually caused by under-mixing or too much liquid added to the macaronage. The batter should flow like honey off the spatula, and it should pass the figure eight test mentioned above. Also, when using food coloring, only use gel or powdered food coloring. Liquid food coloring is too watery. Even too much gel food coloring can add too much water.
- Peaks that don’t settle– this would be caused by a batter that is too thick, either due to under-mixing or the wrong almond flour. You’ll notice that once you’ve piped and tapped the trays, the peaks don’t settle into the shells. They can still be quite delicious when baked, they just wouldn’t be the correct shells we are trying to make.
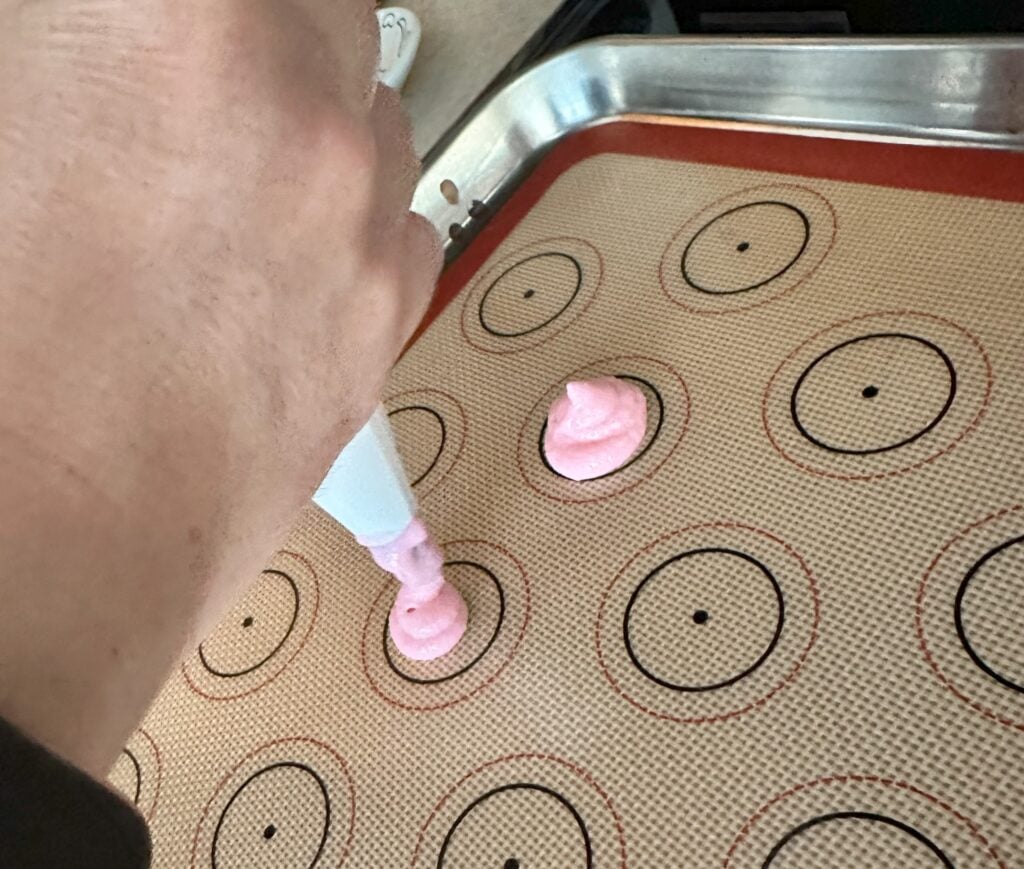
Piping Perfect Circles
Piping a perfect macaron circle might be one of life’s simple pleasures. To use a template or not, that is the question. Well, for me, there is no question. I use a template. I use silicone mats with the circles printed on them. It just makes life easier. Especially with a dessert that is already technical enough, why not give yourself a little bit of ease? When you first start out, you’ll definitely want to use a templated mat. As you keep going, I think you’ll still want to use those same mats. There’s a dot right in the middle of the circle that you can aim for and it helps your circles to come out perfectly.
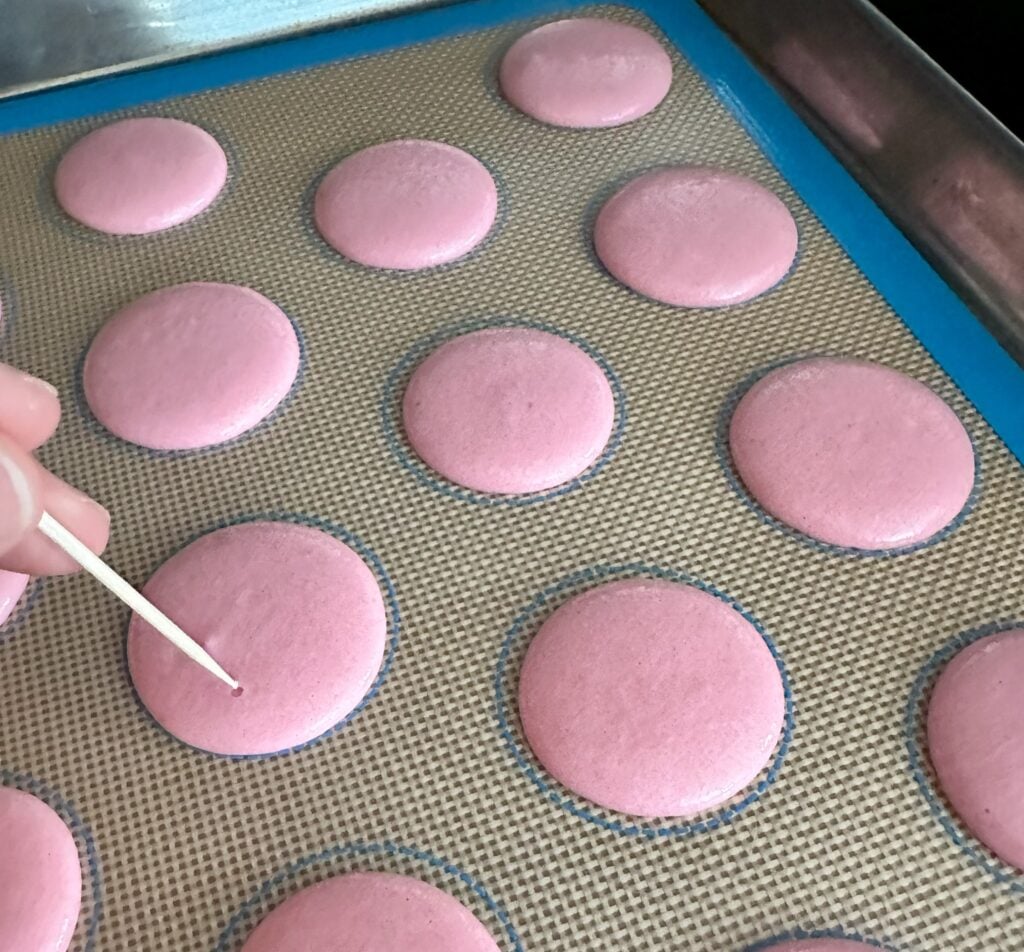
Once you’ve piped your shells, it’s time to remove the air bubbles. Even though the macaronage process does remove most of the air, you’ll notice that once the shells are piped, there are tiny air bubbles. You’ll want to bang the trays two to three times on your countertop to help remove some of the air bubbles. Then you’ll want to go through with a toothpick and gently pop any remaining air bubbles you see.
Drying and Baking Macarons
Once you’ve piped those perfect circles, they need to dry. What does this mean? It means that the shells will be ready to bake when you can lightly touch one and none of the batter will transfer to your finger. This is called the skin. It is important for the shells to form a skin before baking as this is what helps the feet form and prevents them from cracking. With a properly formed skin, as the shells bake, the heat will push the shells up, and the heat will release through the bottom, forming the feet. If the skin is not completely formed before baking, the heat will release through the tops of the shells, creating cracks.


Now that the skin has formed, its on to baking them. I bake my macaron shells for 14 minutes at 300 Fahrenheit. Macarons do better baking for a little bit longer at a lower temperature. It’s important to know that each oven bakes differently. Some ovens run hotter or cooler than the temperature displayed, while others have hot spots that can cause one side of the tray to bake faster than the other. If your macarons consistently brown, crack, or develop lopsided feet, your oven may be the culprit rather than the recipe. Learning how your oven behaves is part of mastering macarons. An inexpensive oven thermometer can help verify the actual temperature.
Common Problems
- Cracked shells– cracked shells are mainly caused by an improper skin. If you haven’t allowed for sufficient drying time before baking, the shells will most likely crack as the steam escapes through the top of the macaron rather than by lifting the shell up and escaping through the bottom, creating the signature feet.
- No feet– feet form because the moisture inside the shell turns to steam and pushes the shell upward. If they don’t form properly, there are a few reasons why. Most common causes are your oven temperature being too low, causing the shells to dry out slowly rather than lift. The batter could be overmixed, causing it to spread too much before it has a chance to rise. A weak meringue, which won’t provide the structure needed for lift.
- Lopsided feet– this is caused by your hot spots in your oven. I do not recommend opening your oven while baking as this can disrupt the shells causing more issues. You’ll have to learn how your oven behaves and try to position the tray in the best way to reduce uneven baking. Also be sure to bake one tray at a time so you are able to position each tray properly. And you may have to accept that some shells won’t turn out as well as the others if hot spots are truly an issue with your oven.
- Hollow shells– the most common causes of hollow shells are overwhipped meringue, too high an oven temperature, overmixed batter, and underbaked shells. It does take some practice to make the perfect meringue that is just stiff enough but doesn’t become overwhipped. As for the oven temperature, you’ll have to get to know how hot/cold your oven runs and where any hotspots might be. If you know how your oven behaves, you’ll have greater success baking macarons. Mixing the batter until it passes the figure eight test will help to ensure the shells have the best chance to bake properly.
Filling and Maturing Macarons
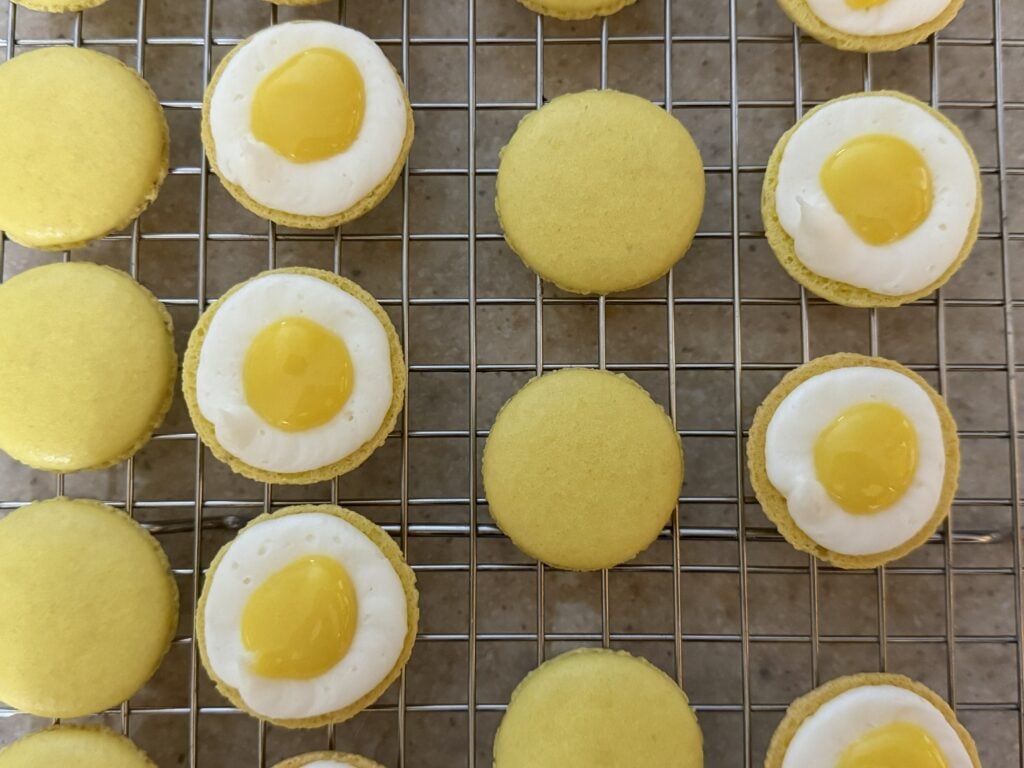
This is the fun part! And where most of the flavor of the macaron comes from. There are a variety of fillings for macarons, from jams and curds, to ganache and buttercream-and the flavors are endless. If you can dream it up, you can probably make it into a macaron. Buttercream is probably the easiest filling for macarons, and many of my macaron recipes use buttercream as a filling.
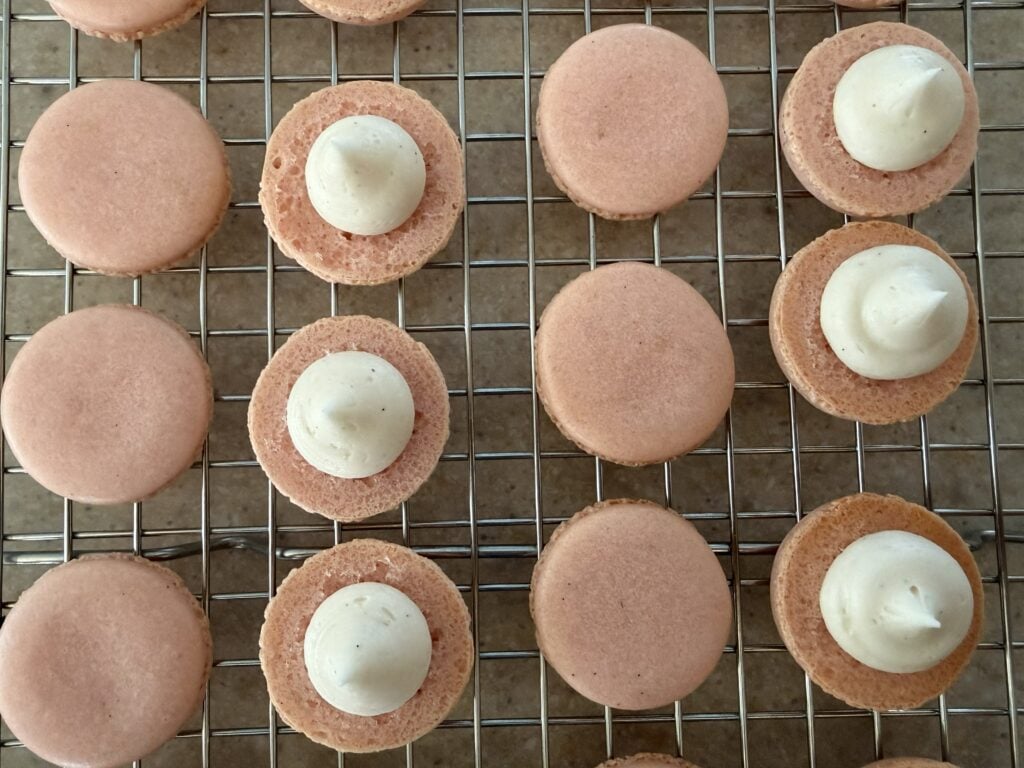
Once the macarons are filled and decorated, it’s time to let them mature for a bit. No, it doesn’t mean they’re going to get their license and finally get a job. It means they are going to sit in the fridge for at least an hour to let the flavors develop and for the filling to fill up the shell. This is what makes the macarons have their soft, chewy interior that contrasts so well with the crisp, delicate shells. If you ever end up with hollow shells, a lot of times they will improve after the maturing process.
Now it’s time to decide what flavor of macaron you are going to make from the list below.
Explore More Macaron Flavors
Fruity & Floral
- Lemon Macarons
- Lemon Lavender Macarons
- Lavender Macarons
- Blueberry Lavender Macarons
- Raspberry Rose Macarons
- Raspberry Vanilla Bean Macarons
- Vanilla Bean Macarons
Chocolate Lovers
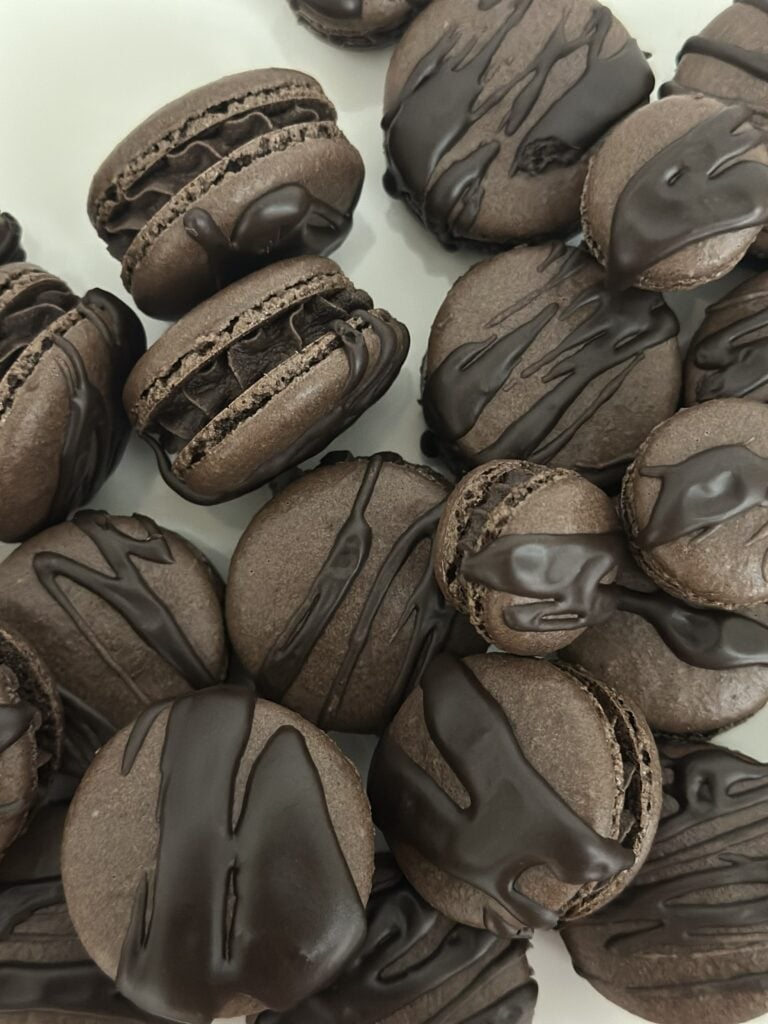
- Chocolate Macarons
- Chocolate Peanut Butter Macarons
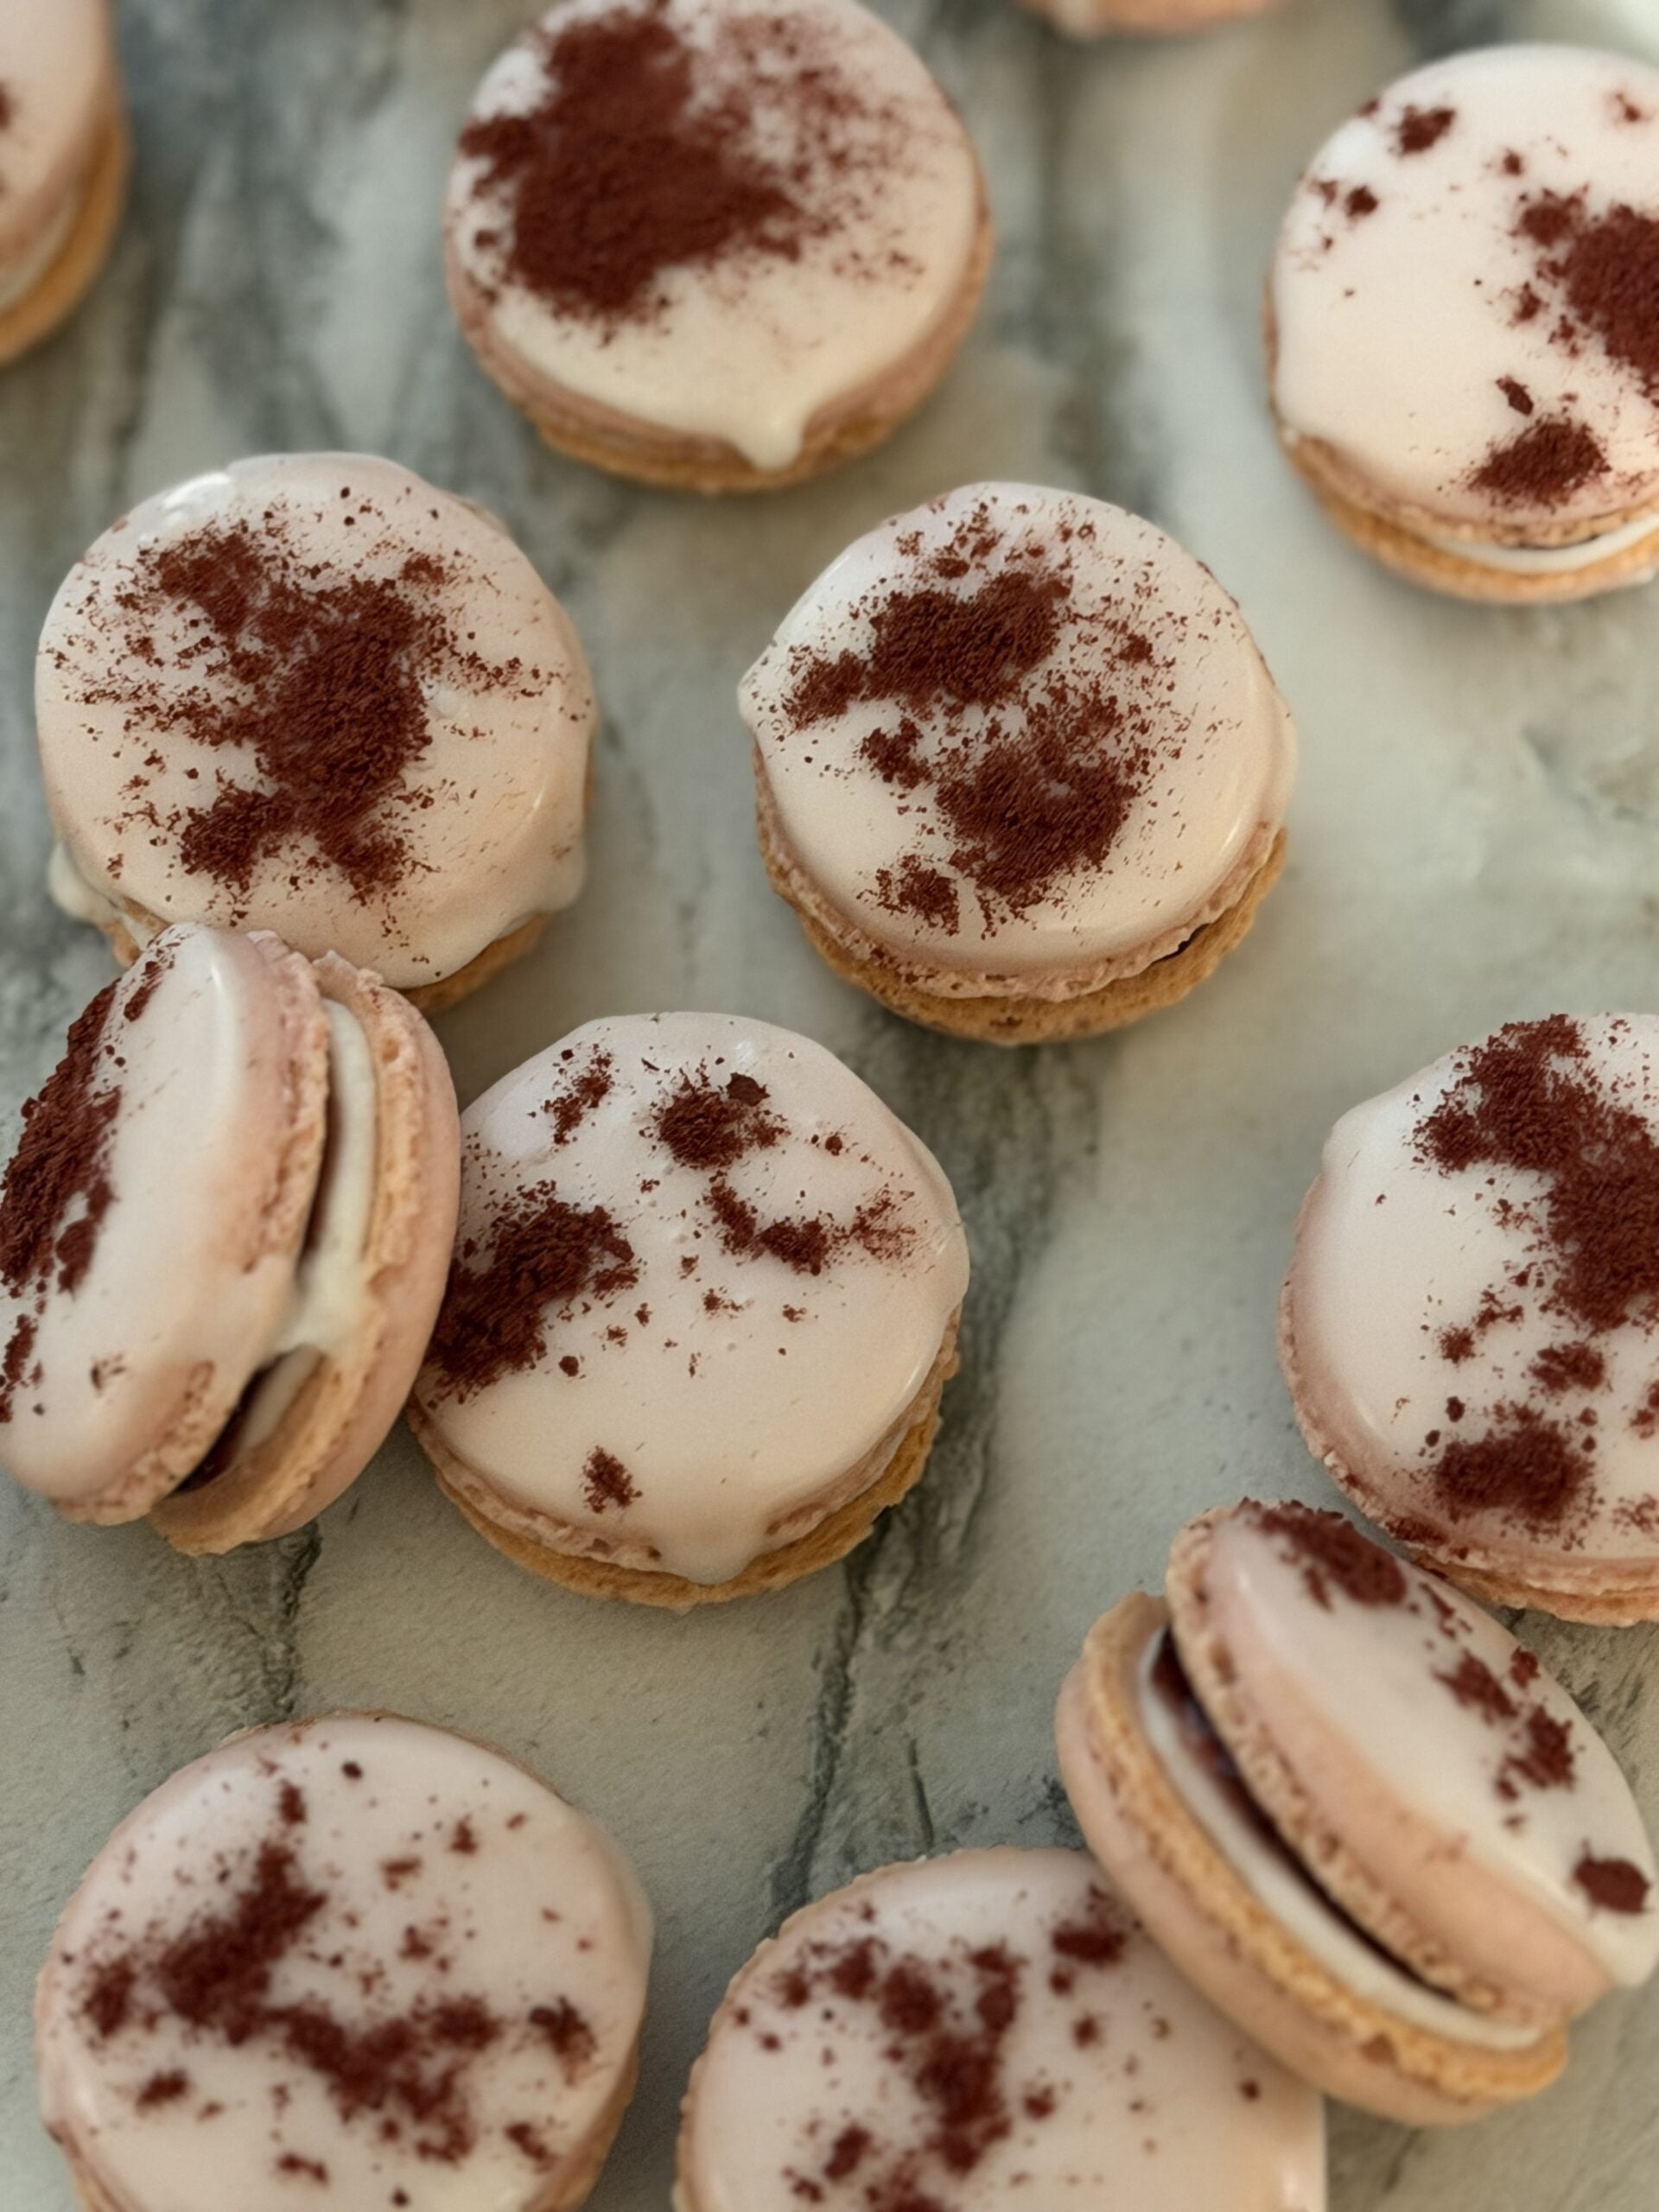
- Dark Chocolate Espresso Macarons
- Hot Chocolate Macarons
- White Mocha Macarons
- Mint Chocolate Macarons
Holiday Favorites
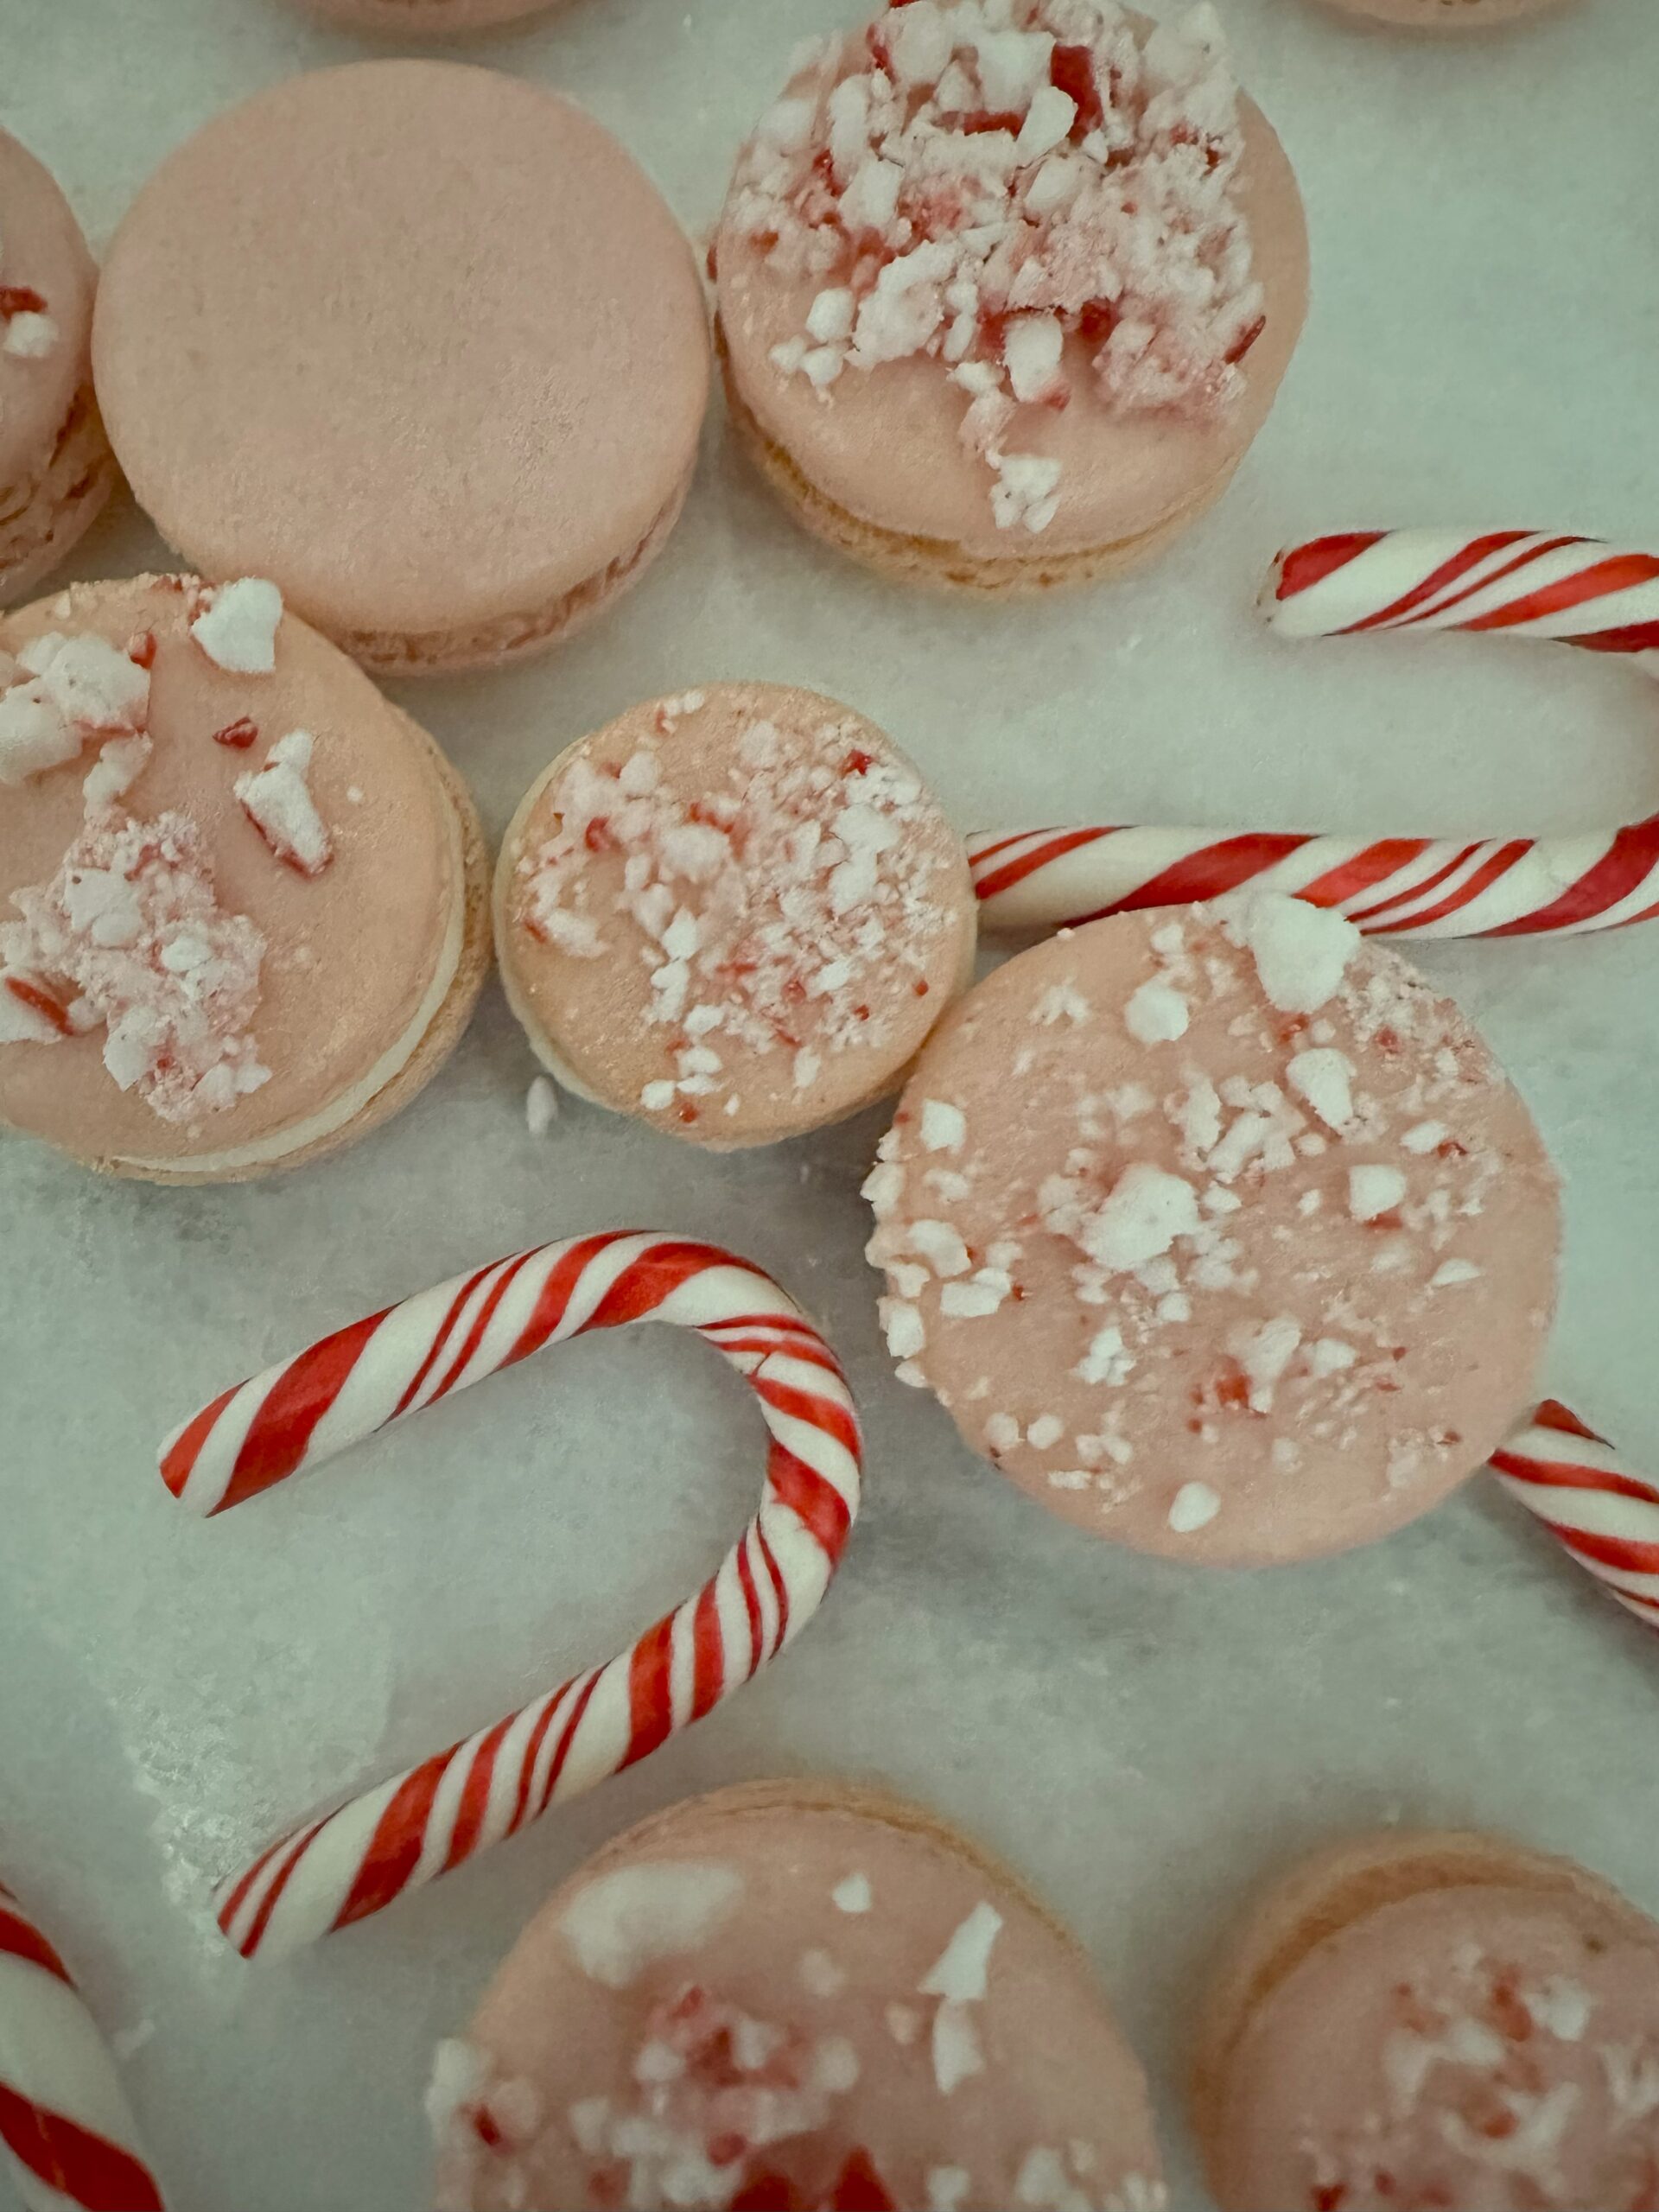
- Candy Cane Macarons
- Gingerbread Macarons
- Eggnog Macarons
- Peppermint White Chocolate Macarons
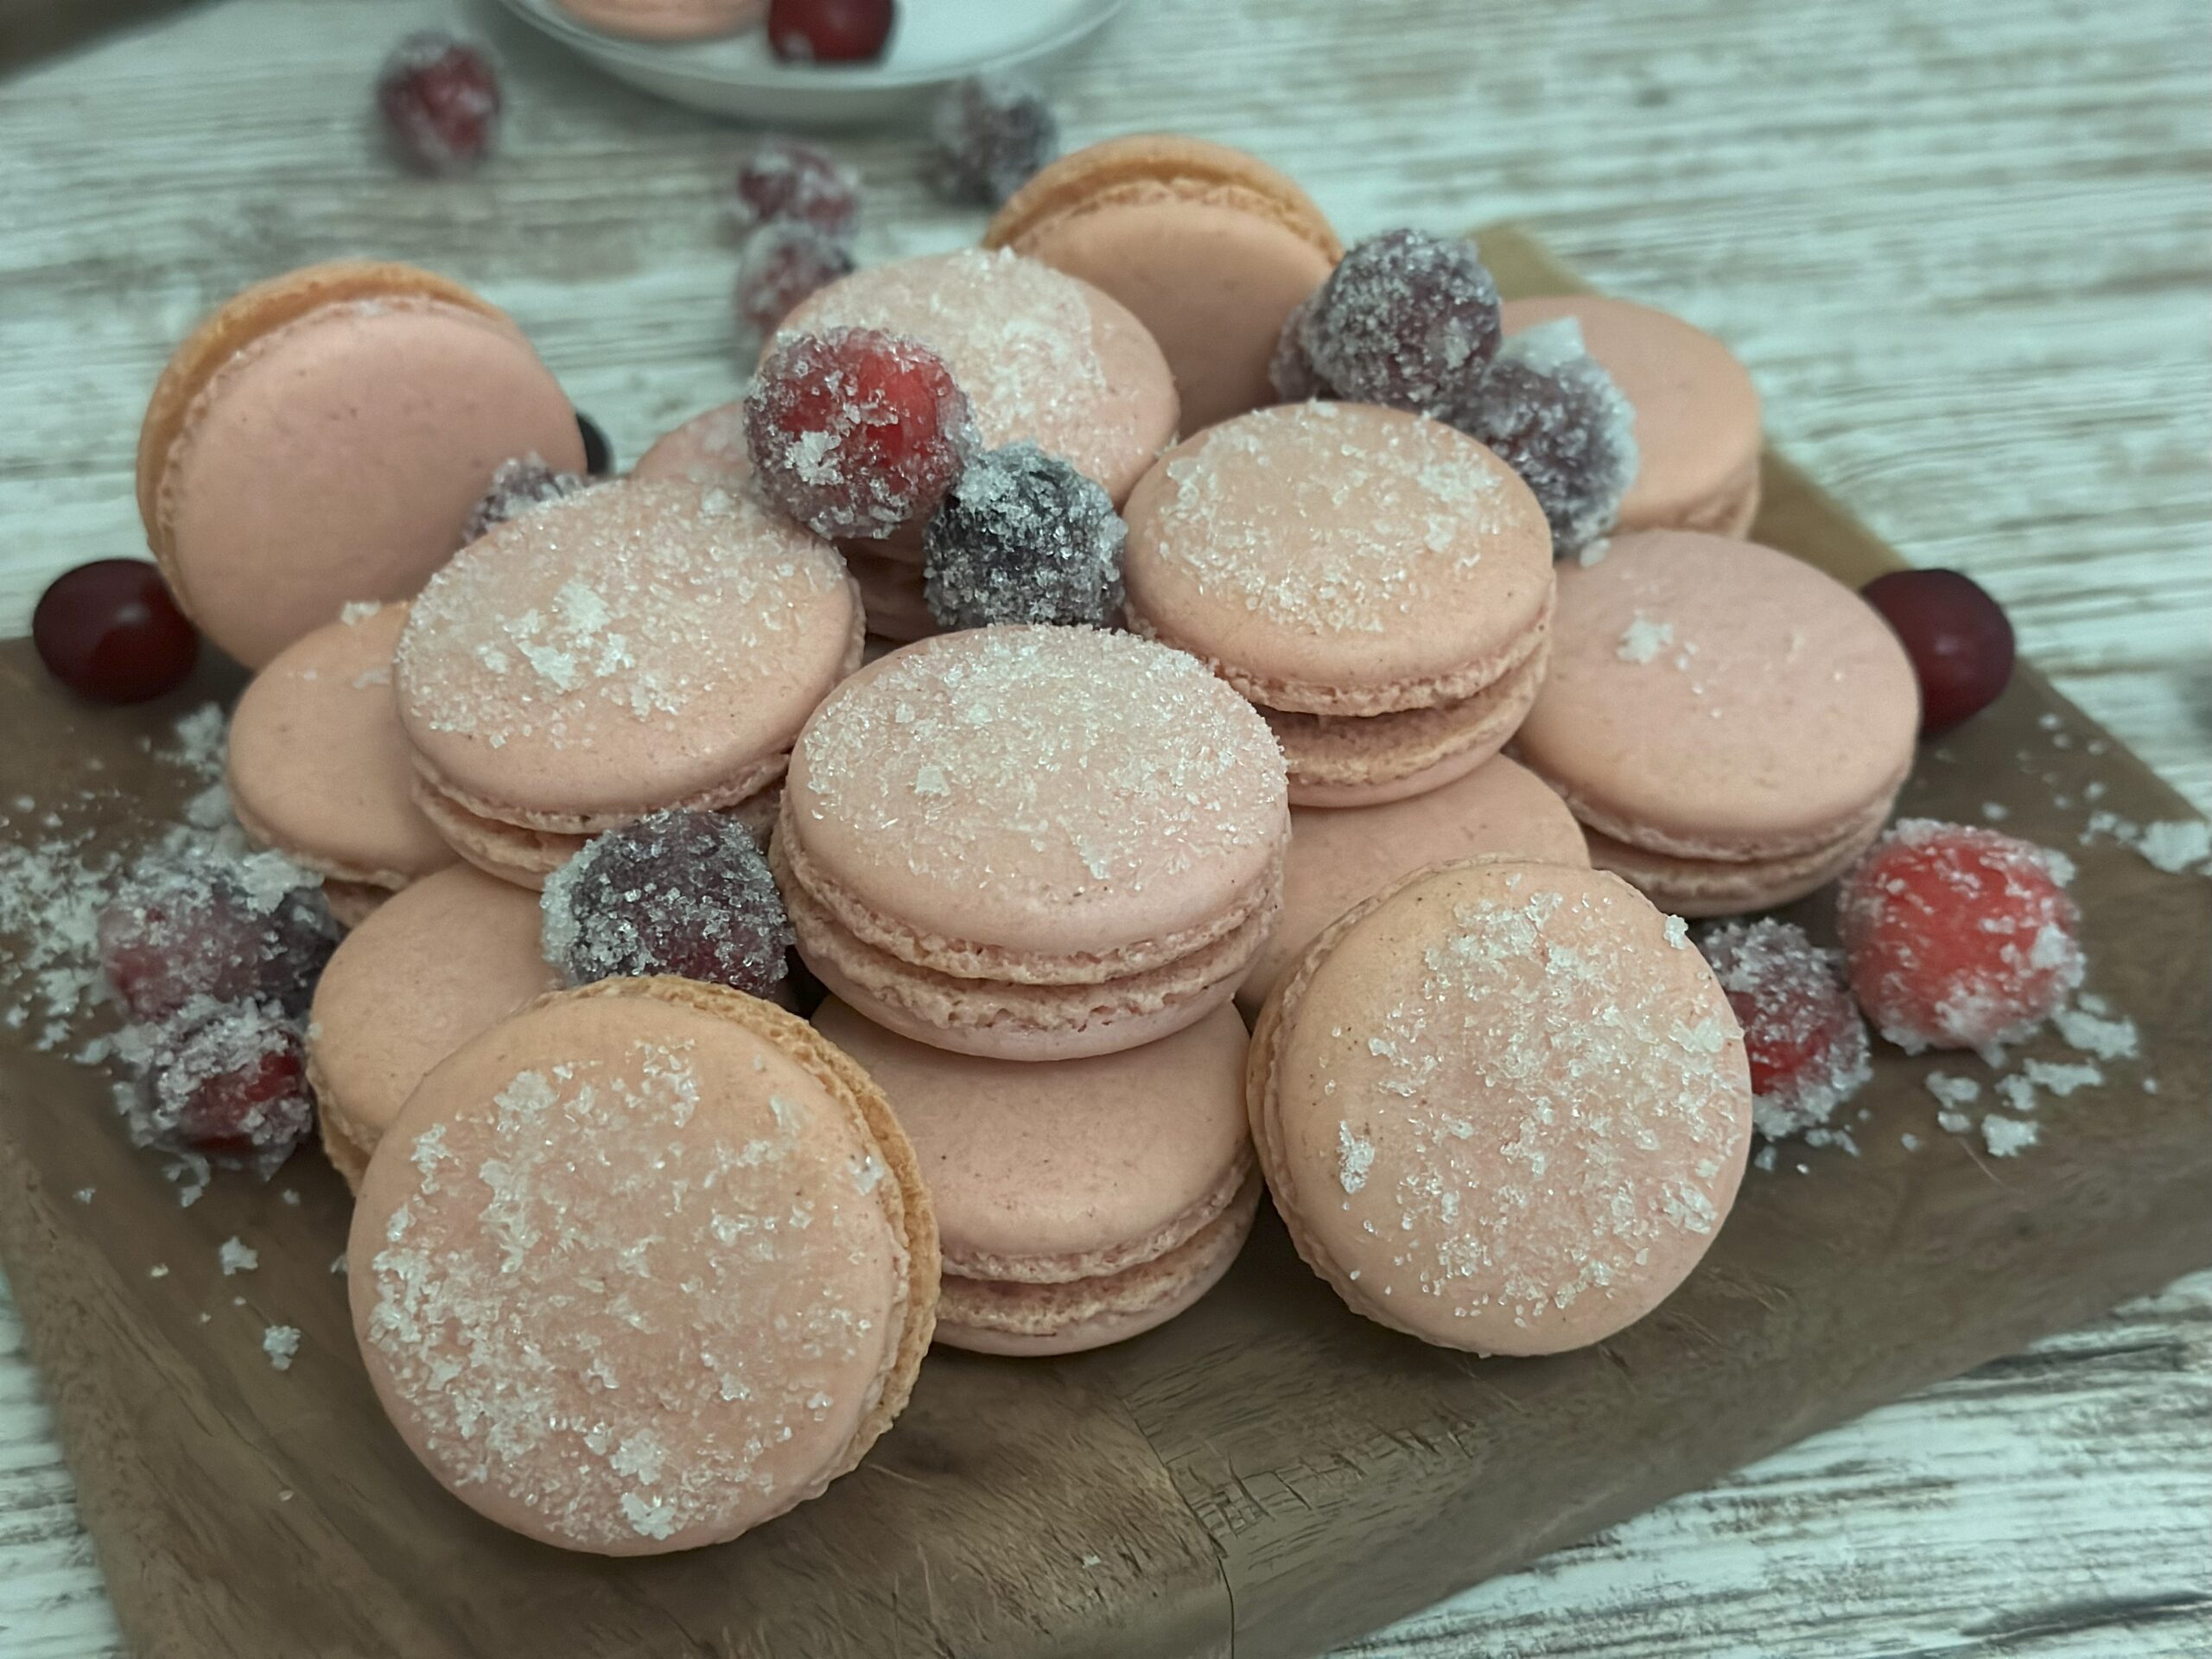
- Cranberry Spice Macarons
- Pumpkin Spice Macarons