Gingerbread Spice French Macarons Recipe
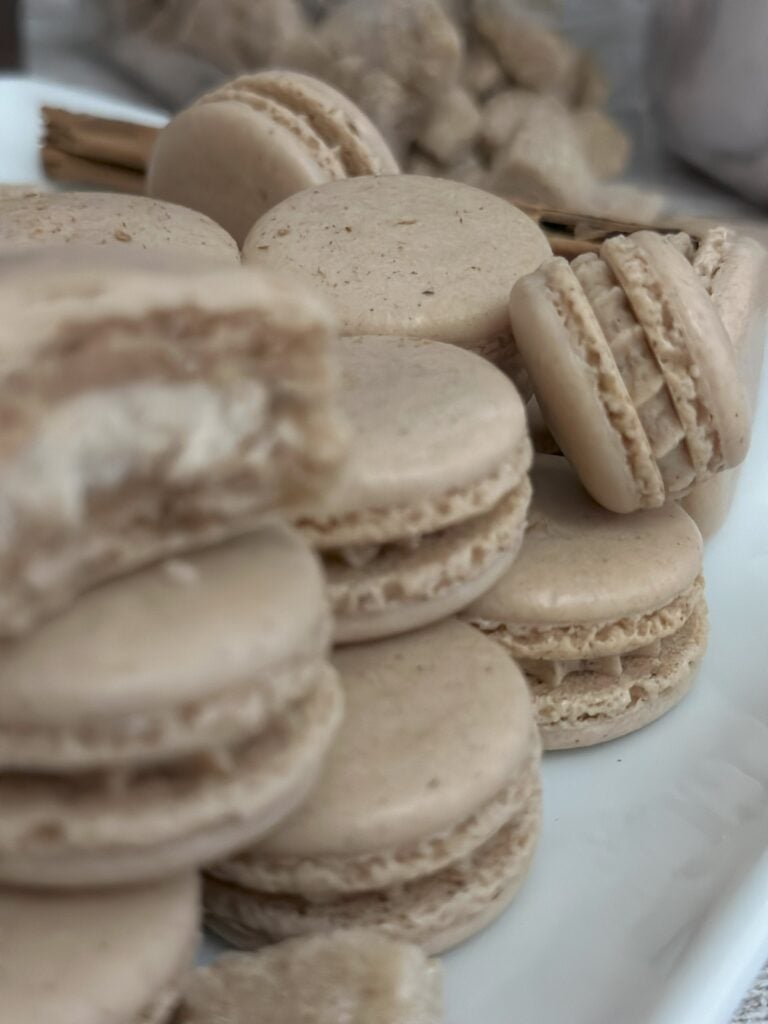
Gingerbread-a flavor that instantly transports you back to your Christmas memories. These gingerbread spice macarons are packed with warm spices and that classic holiday sweetness, giving you all the nostalgic flavor you love in a delicate macaron shell. Add them to your Christmas cookie box or bring them to your holiday dessert table.
Macarons are known for being quite tricky to make, and they definitely do live up to that, but they are also quite fun to make. Once you make them, you won’t want to stop. They are so unique and everyone loves them! I love seeing how excited people get when you bring them some macarons.
French macarons, you say
There are three main ways to make macarons- French, Italian, and Swiss. I like the French method the best as it does not involve using a hot sugar syrup to make the shells, nor any extra equipment such as a double boiler.
It is said that the French method is less stable than the Italian or Swiss, but I have found the French method to be quite stable. French macarons are also beginner-friendly, another great reason to use this method.
Make it brunch
Turn these gingerbread spice macarons into a holiday brunch treat by pairing them with your favorite latte-the warm spices are perfect with coffee. Balance the sweetness with something hearty and savory like my quinoa lentil salad and my crispy sweet potato fries. It’s an unexpected but delicious spread that brings a little holiday magic to the table.
Check out my Beginner’s Guide to French Macarons for a full tutorial on macaron making.
Ingredients

The ingredient list for macarons is short, so it’s very important to get the best ingredients you can.
- Almond flour Get fine-ground almond flour. You want it to be easy to sift with the powdered sugar.
- Powdered sugar
- Egg whites
- Granulated or castor sugar Castor sugar is fine ground sugar. It does melt into the egg whites better, but I have had great success using either type of sugar. You can also run granulated sugar through a food processor to help make it finer.
- Cream of tartar Optional, but I find that it helps the egg whites to whip up into a beautiful meringue.
Let’s make gingerbread macarons
Step 1- Making the macarons shells
Macarons are intimidating at first, but once you get the hang of them, they become easier and easier to make. At the core, you’re just whipping egg whites into stiff peaks (the meringue), then mixing the meringue with sifted almond flour, powdered sugar, and cocoa powder to form the macaron batter, known as macaronage.
- The batter should be the consistency of honey
- Use the ‘figure eight’ test to check readiness before piping


Pro Tip: Do not use liquid egg whites or meringue powder. Liquid egg whites are pasteurized, which is not ideal for making meringue. Meringue powder is not strong enough to form and hold stiff peaks.


Step 2- Pipe and dry the shells
Once it’s ready, pipe the batter onto two baking sheets lined with silicone mats or parchment paper.
- I love silicone mats with printed circles- they’re reusable and help ensure even sizing and spacing.
- Let the macarons rest until a skin forms before baking.
Pro Tip: Macarons struggle to dry properly in humid weather. Use a fan or dehumidifier to speed up the process if needed, though you don’t want the fan blowing directly onto the shells.


Step 3- Bake the macarons
Bake at 300°F for 14 minutes (adjust as needed for your oven). The shells should feel dry to the touch and not be wiggly. Let them cool for 10 minutes at least before attempting to remove them from the pans or the tops may separate.
Step 4- Fill the macarons
Once the shells are cooled, it’s time to fill and decorate.
Filling and decorating the macarons
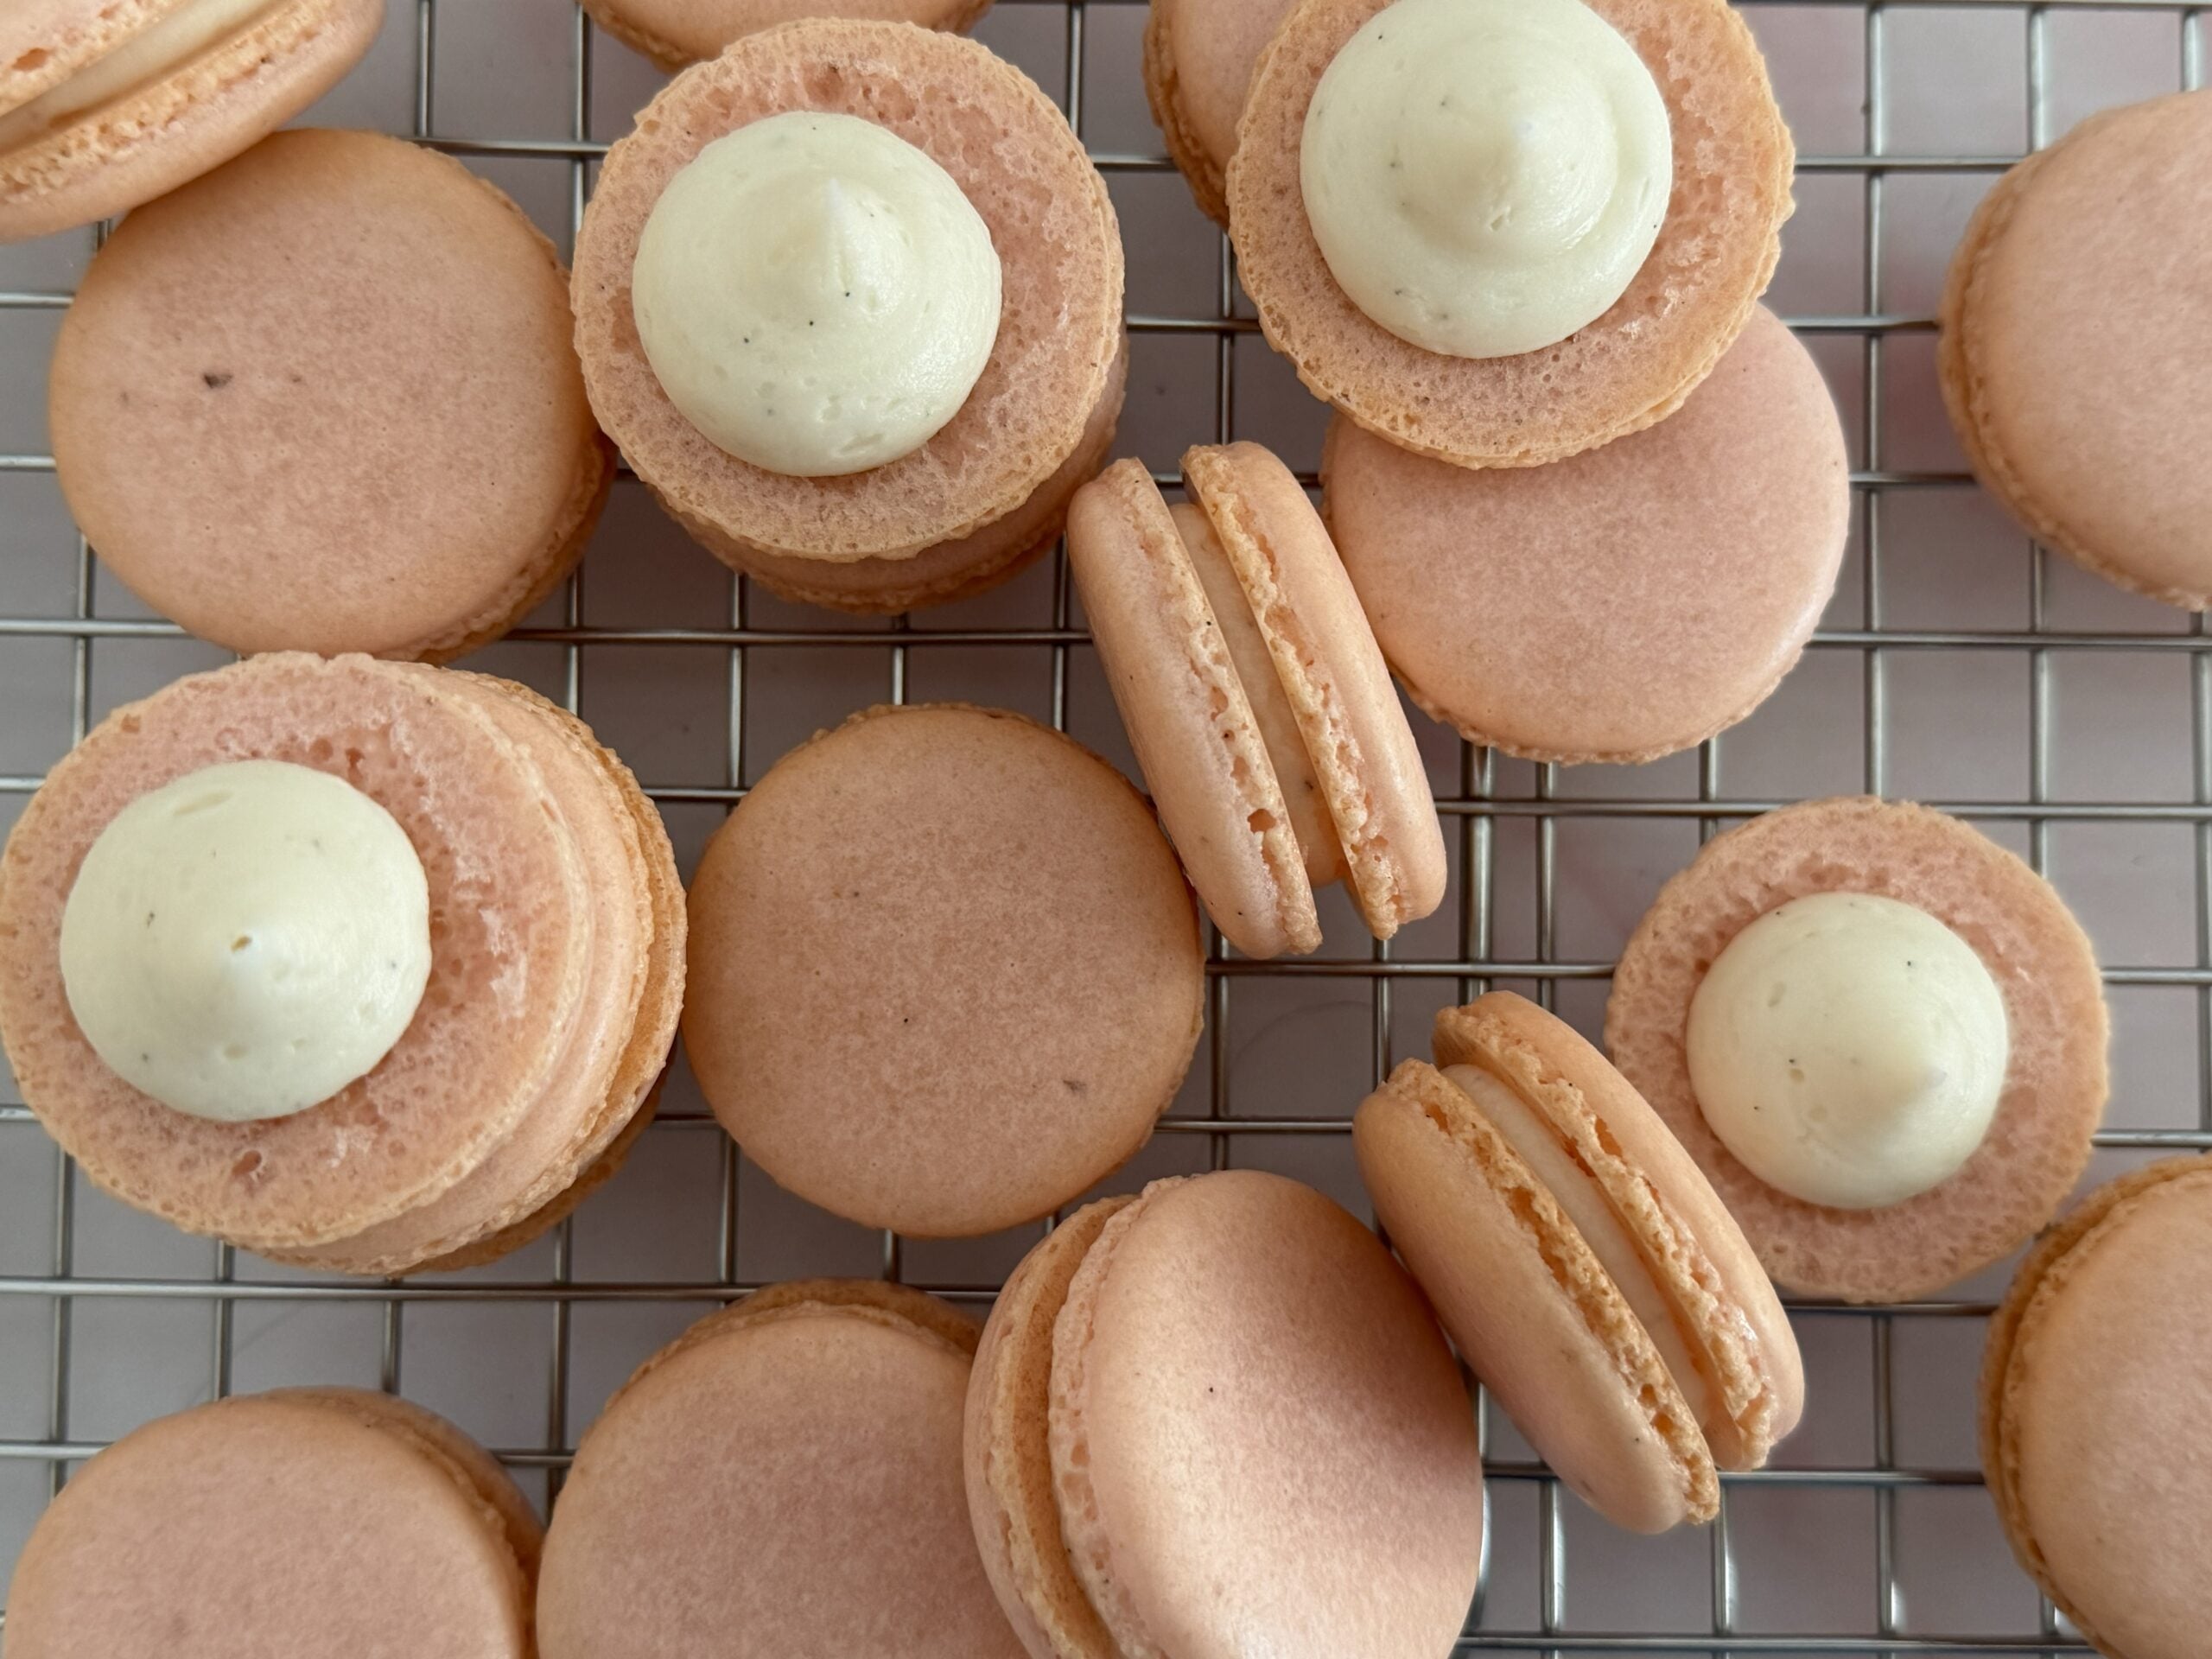
The filling is a simple gingerbread buttercream frosting. The filling is what gives the macaron most of it’s flavor, and this filling is so good! It has just the right amount of spices, giving it that perfect gingerbread flavor.

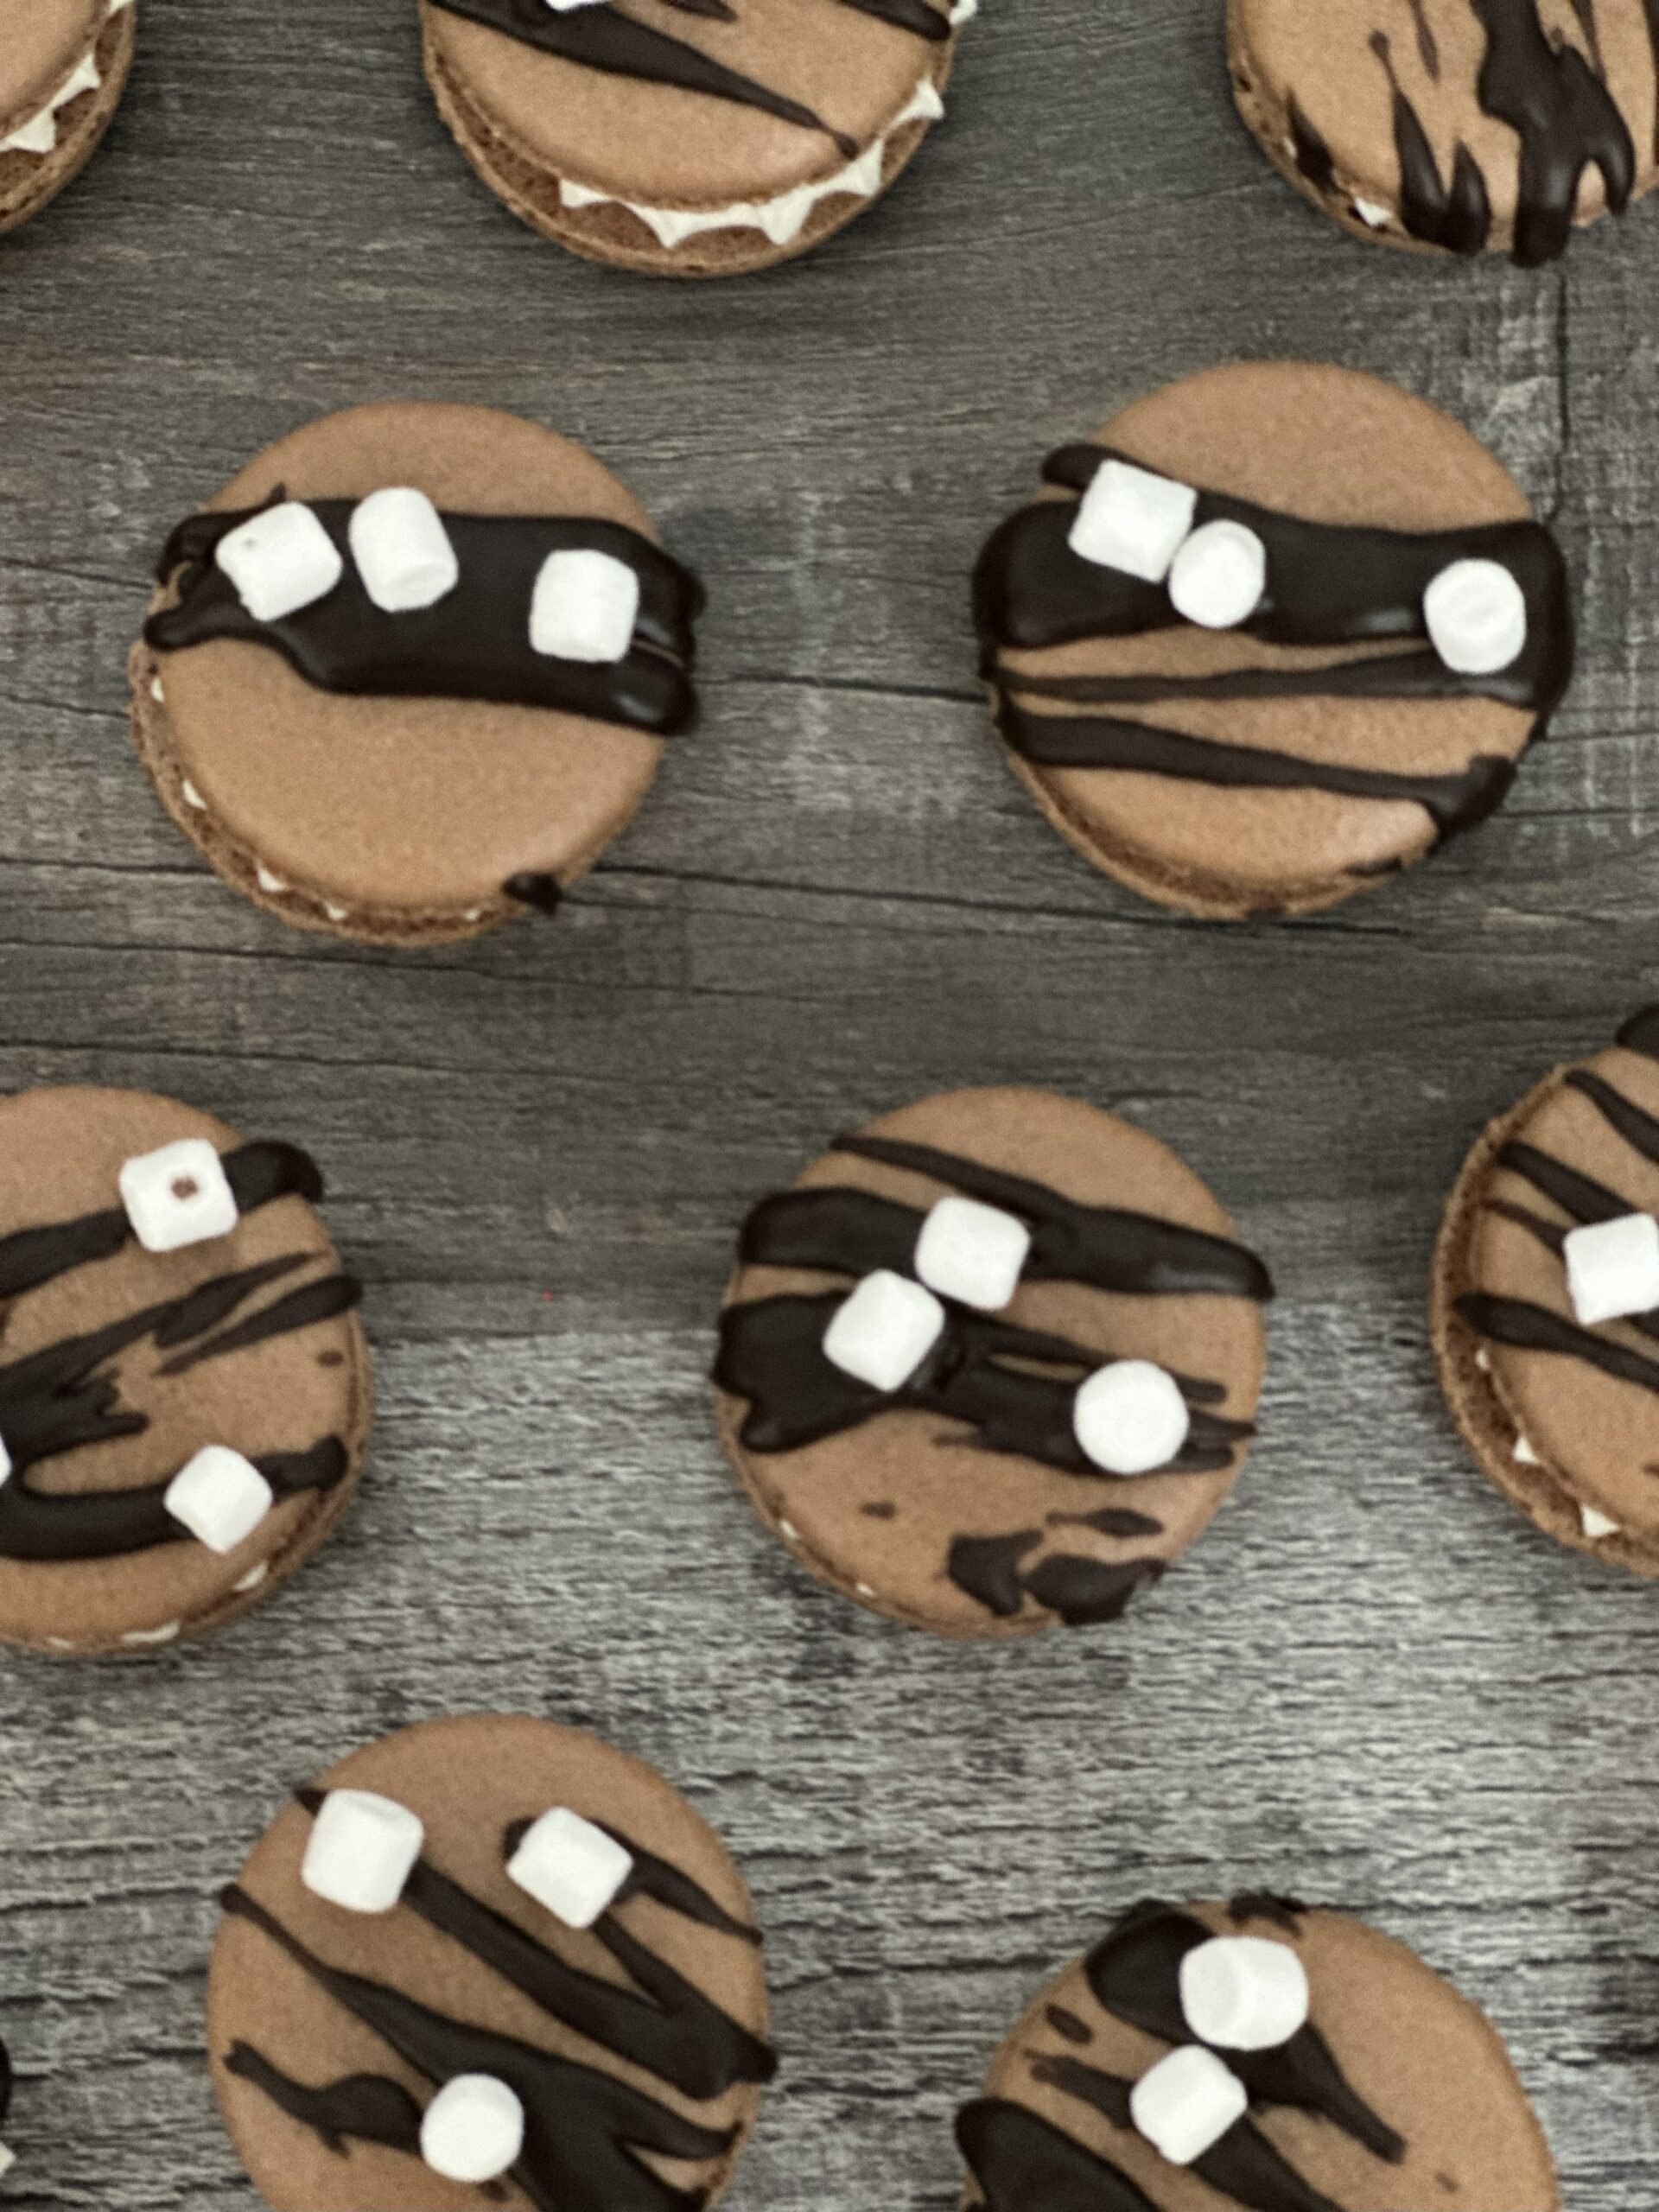
For a slightly different variation, I added extra black cocoa powder (two teaspoons) to the shells and to the filling (two teaspoons), plus added some fun decorations.

More macaron recipes to try
- Maple Bacon French Macarons
- Cranberry Spice Macarons
- Eggnog Macarons
- Peppermint White Chocolate Macarons
- Fig and Honey Macarons
Frequently Asked Questions
For maximum flavor and freshness, store macarons in an airtight container in the fridge for up to one week. Layer them with parchment paper. Do not use wax paper as it will stick to the macarons. You don’t want to stack them too high as they are a delicate cookie.
To freeze the shells, first lay them in a single layer on a large baking sheet to freeze. Once frozen, transfer them to a freezer-safe container. Line the container with parchment paper, and put parchment paper on each layer of macarons. When you’re ready to use them, thaw the macarons in the fridge overnight and decorate them as normal. Freeze for up to one month.
You can also freeze filled macarons, but it depends on what they are filled with. Buttercream frosting would freeze well. Fillings such as jams or fruit curds would probably freeze ok, but they would not thaw out as well as buttercream.
There are a couple of reasons your macarons could be cracking. If you don’t give them a long enough resting period, they could crack. Remember, they need to be dry on top. Depending on your climate, this could take anywhere from 10 minutes to over an hour. If you don’t whip the meringue to stiff peaks, it will be weak thus making the macaron shells weak and more prone to cracking. You could also have a too high oven temperature. You may want to invest in an oven thermometer to be sure your oven is set to the right temperature.
I recommend using light baking sheets. Dark baking sheets hold onto heat longer which could cause your macarons to crack. Line the sheets with silicone mats or parchment paper.

Gingerbread Spice French Macarons
Ingredients
Gingerbread Macaron Shells
- 105 grams egg whites (3-4)
- 75 grams granulated sugar
- 130 grams almond flour
- 130 grams powdered sugar
- 1/4 teaspoon cream of tartar
- 1/4 teaspoon cinnamon
- 1/4 teaspoon ginger
- 1 teaspoon cocoa powder (for color)
Macaron Filling
- 1/4 cup butter
- 1 cup powdered sugar
- 1 teaspoon milk
- 1/2 teaspoon vanilla extract
- 1/4 teaspoon cinnamon
- 1/4 teaspoon ginger
- 1/8 teaspoon cloves
- 1/8 teaspoon nutmeg
- 1/8 teaspoon allspice
Instructions
Macaron Shells
- Separate the egg whites (105 grams) from the yolks about 24 hours ahead of when you will be making the macarons. Don't worry if it's not quite 24 hours. To separate the eggs, crack the shell as close to the middle as you can get. Pass the yolk back and forth between the half shells until all of the whites have separated out into your bowl. You may want to do this over a small bowl first in case some of the yolk gets into the whites.
- Line two large baking sheets with either silicone mats or parchment paper. Set them on a flat surface.
- Weigh out the almond flour (130 grams), powdered sugar (130 grams), and granulated or caster sugar (75 grams) into separate, small bowls. Use superfine flour so you get smooth tops. Using a fine mesh sieve, sift the powdered sugar, almond flour, and cinnamon (1/4 teaspoon), ginger (1/4 teaspoon) and cocoa powder (1 teaspoon) for coloring, together over a large mixing bowl and set aside.
- Using a stand mixer or an electric hand mixer with the whisk attachment, add the egg whites to a clean metal bowl. Add the cream of tartar (1/4 teaspoon). Whip the egg whites on medium speed until they become foamy and the whisk leaves track marks in them. Now it's time to add the granulated sugar. Add the sugar in 3 separate batches with the beater running on low speed. Once you've added all of the sugar, turn the beater on high.
- You will see the egg whites begin to build volume and start to look a little more solid. They will also turn a bright white color. After about 5 minutes, stop and check for doneness. They will most likely not be done and will still be runny. Continue whisking. The egg whites will start to look thick and the whisk will leave deep track marks. You are looking for the egg whites to form stiff peaks. This is when you remove the whisk from the egg whites and they come to a point without melting away. They will form a 'peak' with possibly just a slight curve. You will also be able to turn the bowl upside down and they will not move. This is the meringue.
- Add the meringue to the almond flour/powdered sugar mixture in 3 batches. You won't be able to mix it all together until you've got all the meringue in there, but it's easier to do it this way. It will look very dry at first. As you continue mixing, it will come together. I like to use a spatula with a rounded side. It seems to move along the bowl easier, allowing me to scrape the sides and fold everything inward. The mixing is what takes the air out of the batter, allowing it to form the honey-like consistency we are looking for. The batter should flow off your spatula like honey without breaking, and you should be able to form a figure 8 with the batter that's flowing off the spatula. It should sink back into itself in 10 seconds. Then it's ready.
- Using a large pastry bag and a small, round tip (I like the Wilton 12 tip), fill the pastry bag with the batter. I like to use a large cup to set the bag into. Twist the bottom just above the tip and fold it over before putting it in the cup. This will prevent the batter from pouring out the bottom into the cup. Fold the sides over the cup and spoon the batter into the bag.
- Take the cup over to where your prepared pans are. Lift the bag out of the cup, hold the top closed, and gently squeeze the bag to push the batter down towards the tip. Work quickly as the batter will keep flowing out of the tip once it starts. If you have the mats with the macarons stenciled on them, then aim for the middle of each stencil. There should be a dot in the middle. Holding the bag upright, I count to four as I gently squeeze the batter onto the mat. Repeat this process until you have filled all of the circles or run out of batter.
- Bang the trays firmly on your countertop to remove any air bubbles. I also go through with a toothpick and lightly pop any air bubbles I see. Let the macarons rest for 30-40 minutes (longer if it's humid out) so they can form their 'skin'. You should be able to lightly touch the tops of the macarons without getting any batter on your finger, and they will feel smooth.
- Now it's time to bake them. Bake each tray one at a time on the middle rack for 14 minutes in a 300°F oven. The macarons will look matte on top, and they will not jiggle when you move the pan. I like to preheat my oven about halfway through the macarons resting.
- Once the macarons are done baking, let them rest for 10 minutes before removing them to a baking rack to continue cooling down. Once they're cooled down, they can be filled.
Gingerbread Filling
- The filling is a simple buttercream frosting. Beat the softened butter (1/4 cup) until it's smooth, about 60 seconds. Add the powdered sugar (1 cup). Beat on low until it starts to incorporate with the butter, then turn it up to medium until it's fully mixed together. It will clump up. Turn the mixer off. Add the milk (1 teaspoon), vanilla extract (1/2 teaspoon) cinnamon (1/4 teaspoon), ginger (1/4 teaspoon), nutmeg (1/8 teaspoon), cloves (1/8 teaspoon) and allspice (1/8 teaspoon). Beat on high until everything is mixed well and the frosting is smooth.
- Fill a pastry bag with the frosting, fitted with your choice of tip. Match the shells by size, flipping one over of each pair. Holding the filled pastry bag upright, squeeze out roughly a nickel-sized amount onto the turned over shell. When completed, sandwich the macarons gently. I make a circular motion when sandwiching them as I don't want to press down and potentially crack the beautiful shells.
- Refrigerate the macarons for 24 hours to let the flavors fully develop. Honestly though, just eat one. If you don't have time to refrigerate them for that long, they're still delicious.
Notes
- For maximum flavor and freshness, store macarons in an airtight container in the fridge for up to one week. Layer them with parchment paper. Do not use wax paper as it will stick to the macarons. You don’t want to stack them too high as they are a delicate cookie.
- Beat egg whites just until stiff peaks form, then stop.
- Be careful not to overmix the batter. Once it flows like honey and passes the figure eight test, stop mixing.
- For best results, follow the recipe as written.