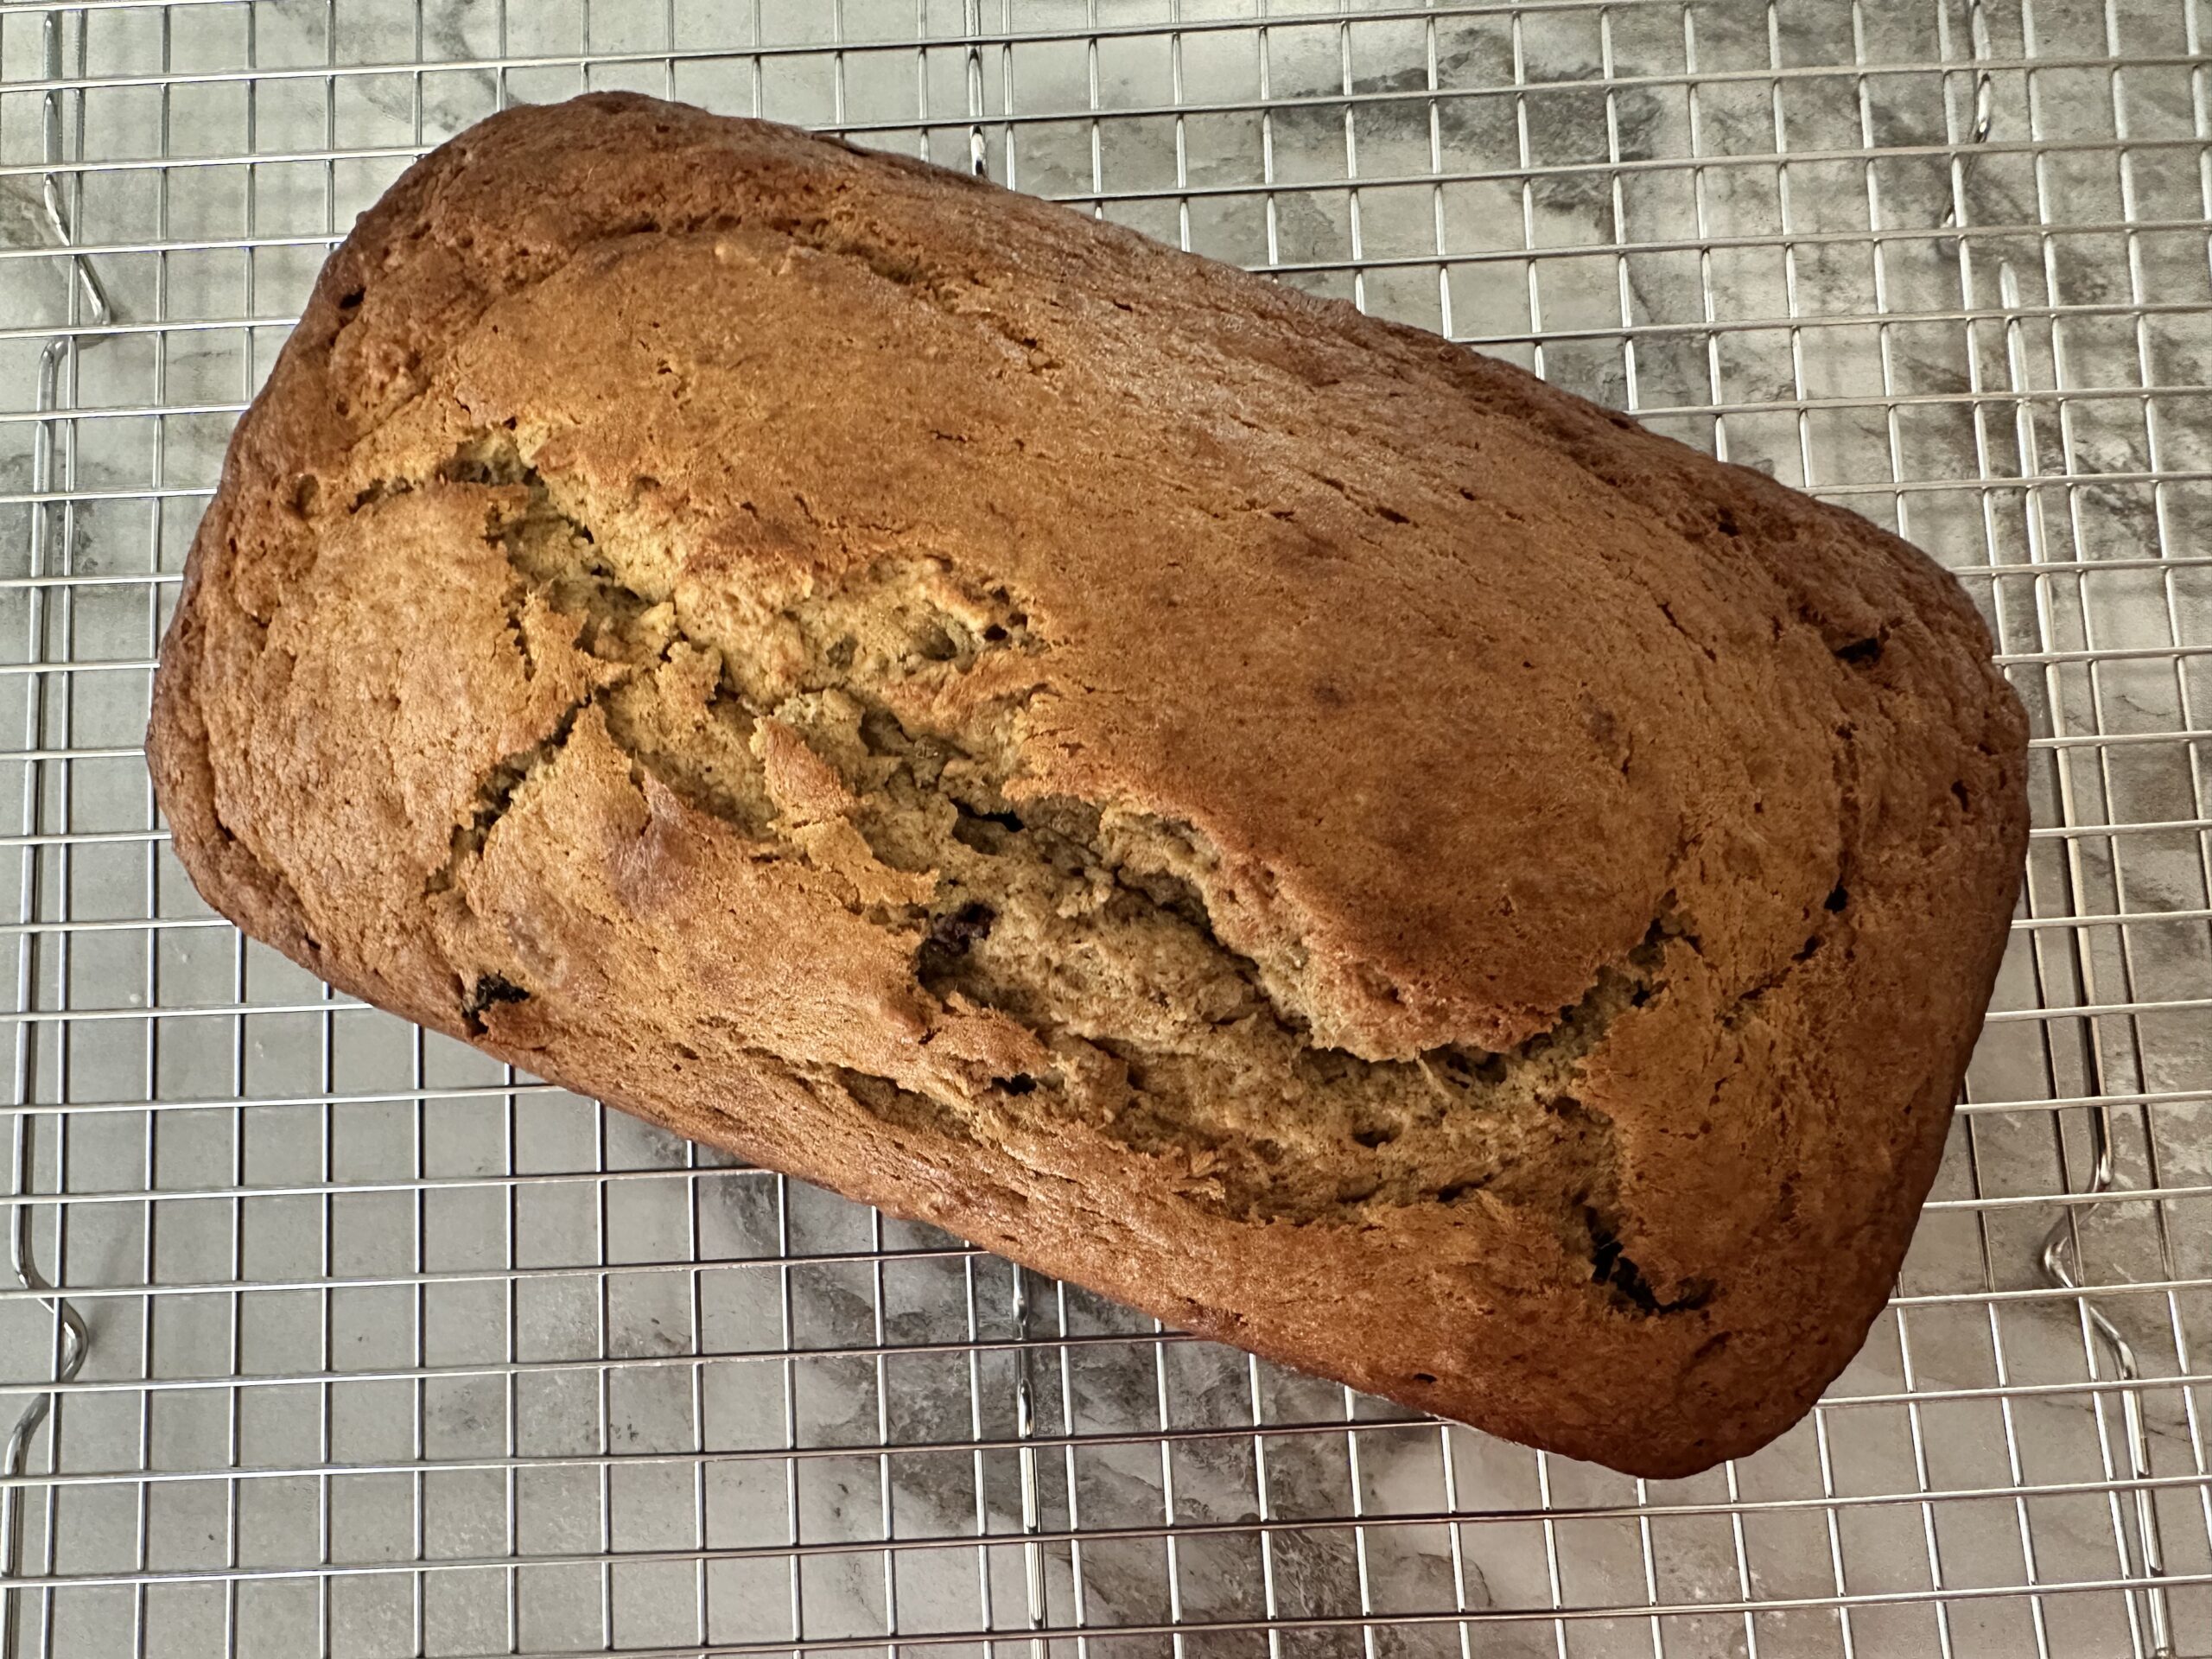
Homemade Vanilla Scones
Buttery and flaky and perfect for dunking in your morning coffee, or afternoon coffee, or eating anytime you feel like it. Because they are so easy to make, you could eat them anytime, and I know you’ll want to once you get to the end of this post.

I was actually amazed at how easy these scones were to make. You can have a batch of these in under and hour. Though traditionally a baked good originating in Great Britain, scones can be found all over the world with a variety of different additions and recipes. The list is endless for what you can add to this basic scone recipe.
I have also found these scones to be rather forgiving. Even when the dough has been slightly too wet, they have still baked up wonderfully. Even a little too dry and they have baked up amazingly. And they are really fun to make! They are so fancy, you will really impress your family, coworkers, friends, when you bring a batch of freshly baked homemade scones to your next get together.
On to the good stuff!
Ingredients

- Cold butter it is imperative to have cold butter. It also needs to be cubed. I cube my cold butter then stick in back in the fridge while I get everything else ready.
- All purpose flour buy the best flour you can afford. I really like King Arthur flour.
- Sugar sweetens the scones. If you are making a savory scone, you would only need 1 tbsp.
- Cream or Milk I used 2% milk in this recipe.
- Egg binds the ingredients together.
- Greek Yogurt I recommend sticking with a thicker yogurt like Greek yogurt.
- Baking Powder gives scones a light and airy texture.
- Salt enhances the flavor of the scones.
- Vanilla gives the yummy vanilla flavor.
Tips for Success
Tip #1 I’ve said it before, but it’s worth repeating-the butter must be cold. I put my butter in the freezer about 30 minutes before I am going to make these scones. Cold is the name of the game.
Tip #2 Don’t overmix the dough. Mix until just combined. You will probably need to do a bit of hand mixing to be sure everything gets incorporated.
Tip #3 Don’t overbake. I baked these at 400 degrees for 18 minutes. They are just getting that nice golden sheen and they look a bit over puffy. Once you take them out, they will settle. They will also continue to cook a bit once removed from the oven. Let them cool just a bit before you bite into one. A fresh, warm scone with some butter…mmm….so good!
Let’s make vanilla scones
Put the butter in the freezer about 30 minutes before making these scones. After roughly 30 minutes, cube the butter into small cubes and pop it back in the freezer. You don’t want it to soften while you are preparing the other ingredients.


Next, you’ll sift the dry ingredients together in a large mixing bowl; then whisk the wet ingredients together in a medium bowl.
Cut the butter into the dry ingredients using a pastry cutter or two forks. You could also shred the budder using a cheese shredder. If you’re going to shred the butter, do not cube it.


Add the wet ingredients into the dry ingredients and mix until just combined. The dough will be crumbly, this is ok. Use your hands to form a dough ball. There will be some loose flour, just work this into the dough. If the dough seems too dry, add a little more milk, no more than a tablespoon.


Once you have formed the dough ball, split it in half and form two smaller dough balls. Shape these into 6 inch discs.
Cut the discs into 6 roughly equal triangles using a sharp knife or the pastry cutter.


Pull the triangles apart by about an inch. This will help the sides bake up nice and crisp. Bake at 400 F for 18-22 minutes, or until the tops are golden brown.

Drizzle with vanilla glaze, if desired.
Frequently Asked Questions
For freshest results, store scones in an airtight container in the fridge for up to five days. Scones can also be store in the countertop in an airtight container for up to 3 days. If you don’t think you will have them eaten all by then, I would recommend freezing them according to the instructions below.
Yes, you can freeze the scones. You can freeze them before or after baking. If freezing before, I would make the recipe all the way through forming the discs. Wrap the discs in plastic wrap and then put in a freezer safe container or bag. These can be frozen for up to two months, for best results. Once you are ready to bake them, take them out of the freezer the night before and thaw on the refrigerator. Bake according to the instructions in the recipe.
To freeze after being cooked, make sure scones are completely cooled. Put them in a freezer safe container or bag and freeze for up to two months. To thaw, place in the refrigerator overnight. You can warm them in the oven at 350 degrees for about 5-8 minutes. Or you can microwave them for about 30 seconds. You can eat them cold as well. They’re still yummy!
Related Recipes
For a savory twist on these classic scones, try my Cheese and Bacon Scones. If cinnamon is your thing, try my Cinnamon Scones with Cinnamon Chips or my Homemade Apple Cinnamon Scones. Don’t forget about my Blueberry Scones with Lemon Glaze. For something nice and chocolatey, try my Easy Chocolate Cardamom Scones.

Vanilla Scones
Ingredients
- 2 1/4 cup all-purpose flour
- 1/4 cup sugar
- 1/4 tsp salt
- 1 Tbsp baking powder
- 1 large egg
- 8 Tbsp butter, cold
- 2 tsp vanilla
- 1/2 cup yogurt
- 1/4 cup milk
Vanilla Glaze
- 3/4 cup powdered sugar
- 1 tablespoon milk or cream
- 2 teaspoons vanilla extract
Instructions
- Line a large baking sheet with a silicone mat or parchment paper. Set aside.
- Place pastry cutter into the fridge.
- Using very cold butter, cube the butter into small cubes. Set in the fridge.
- Sift the dry ingredients: 2 1/4 c flour; 1/4 c sugar; 1/4 tsp salt; 1 Tbsp baking powder into large bowl. Set in fridge.
- Whisk together the wet ingredients: 1 large egg; 2 tsp vanilla; 1/2 c yogurt; 1/4 c milk. Set aside.
- Take out the butter and the dry ingredients that you had placed in the fridge and the pastry cutter. Add the butter into the dry ingredients. Using the pastry cutter, cut the butter into the dry ingredients until you get small chunks of butter about the size of pea gravel.
- Add the wet ingredients to the dry ingredients. Mix with a spatula until just combined. You'll have to get your hands dirty as I have found that some of the flour needs to be worked into the dough. Be careful of over mixing though. You want everything to be just combined and I find this easier to do by hand. Its ok if it feels a bit wet, but it shouldn't stick too much to your hands.
- Once you're done mixing the dough, split the dough ball in half and form two six inch discs that are about 1 inch thick. I use a bench cutter to cut the scones and it is exactly six inches across. I use this to measure my discs. I prefer to use my hands to make the discs, but you could roll them out on a lightly floured work surface as well.
- Once the discs are on the baking sheet, pop them in the fridge or freezer while the oven preheats to 400 degrees, and do some cleanup.
- Once your oven has preheated, remove the baking sheet from the fridge/freezer and cut discs into six triangles. You will want to pull the triangles away from each other, about 1-2 inches, so the sides can cook up nicely. If you want softer sides, you can keep them closer together.
- Bake in the oven for 18 minutes. They should look golden brown and a little puffy. You don't want to overcook them. They will continue to cook a bit once you take them out of the oven. Let them cool a bit before enjoying. You want them to be warm but not too hot.
- Enjoy with butter, jam, honey, whatever you can think of. Optionally, you can make the vanilla glaze listed below and drizzle on the scones once they have cooled down a bit.
Vanilla Glaze
- In a small bowl, combine the 3/4 cup powdered sugar, 1 tablespoon milk, and 2 teaspoons vanilla extract. Mix thoroughly until smooth.
Notes
- Butter must be very cold! Put the butter in the freezer 30 minutes before you start this recipe.
- Don’t overmix the batter as it will result in a tougher scone. Mix just until everything is incorporated.
- Store in an airtight container on the counter for up to 3 days, or in the fridge for up to 5 days.