Basic French Macaron Recipe for Beginners
I love making macarons because they are so yummy and they look so fancy. They might not be the easiest treat to make (it does get easier the more you make them), but these delicate, sandwich cookies are delicious and can be made in so many fun colors and flavors. The skies the limit really. For this guide, I have made vanilla rose macarons. Macarons are so fun to make. You will feel like an accomplished baker once you master this skill. I created this guide to give you all of the tips you need to begin your successful macaron journey.
There are two main methods used to make macarons-French and Italian. The French method, which we are using in this guide, uses a meringue that is NOT made with a hot sugar syrup. The Italian method uses a meringue made with hot sugar syrup. The Italian method is said to be stabler than the French method, and a bit sweeter, while the French method is easier to make. The French method is still very stable, and if you follow the instructions exactly as written, you will succeed in making French macarons. That said, the first time you make macarons, they might not be perfect. Making macarons is not easy, but it gets easier the more you make them. It’s a journey, not a destination.
This post is rather long, but it’s necessary for baking good macarons. You’ll probably want to read it through once before starting. I’ve broken this post up into sections as best as possible to make the process easier and more streamlined.
Difference Between Macaroons and Macarons
Is it a macaroon or a macaron? Both macarons and macaroons contain whipped egg whites, but macarons are like a sandwich cookie and macaroons are more like a drop cookie. Macaroons are often made with coconut and dipped in chocolate. That sounds delicious! Come to think of it, you could make a coconut macaron and dip it in chocolate. Ok, looks like I have my next macaron flavor.
Ingredients

The ingredients needed for macarons are simple, yet high quality.
- Almond flour Use a fine ground almond flour. You don’t want any pieces of almond skin in your flour.
- Egg whites This is what makes the meringue, along with the sugar and cream of tartar.
- Powdered sugar Sifted with the almond flour, this provides sweetness.
- Sugar Sugar provides structure to the meringue as it whips up. I have used regular sugar and caster sugar and have had success with both.
- Cream of tartar Helps to stabilize the meringue, kind of like insurance that your meringue will turn out perfectly.
- Flavoring About a teaspoon of extract is good enough to give flavor. Since it’s added to the egg whites before they are whipped up, we don’t want to add too much.
- Filling There are a variety of fillings for macarons. Everything from ganache to frosting to lemon curd. The skies the limit. For this recipe, we’ll be using a simple buttercream filling.
Tips to Get Started
How to Make French Macarons
First, measure out your egg whites into a clean glass bowl, cover with plastic wrap, poke a few holes in it, and store in the fridge overnight. I try to do this 24 hours before I make the macarons to give the egg whites more time to age, but I have also done it the morning of and the macarons have turned out fine. If you do it the night before, its’ one less thing to do the day you will be making the macs. I don’t use any special equipment, I just crack the shell in half and pass the egg yolk back and forth from one half to the next until the whites drop out. There are special tools for this purpose if you would like to use one. Be careful not to get any yolk into your whites!
Line 2-3 standard baking sheets with silicone mats or parchment paper. Depending on how large or small you pipe your macarons, you may end up using 3 baking sheets. I don’t like to make my macarons too large, so I ended up using 2 and a half sheets. I have a smaller sheet pan so this worked perfectly. As mentioned above, the silicone sheets with the circles printed on them are very helpful when you are first learning to make macarons.
Next, weigh out the regular sugar, almond flour, and powdered sugar into separate containers. Make sure you are using fine ground almond flour. Using fine ground almond flour helps produce macarons with smooth shells. If it’s not fine ground, you will have to sift the flour twice, and that’s more work than I want to do. These cookies are already enough work.


Once measured out, sift the flour and powdered sugar together into a large mixing bowl. Be sure to use a fine mesh sieve. If not, it won’t be sifted properly and your macarons won’t turn out exactly as they’re supposed to. If you have bigger lumps, take a spoon and break them apart so they can be sifted through. Set this bowl aside while you whip the egg whites.


In a large bowl of a stand mixer, add the egg whites and the cream of tartar. You may notice the cream of tartar not mixing in quite well at first. Don’t worry, it will as you keep going and add the sugar. I like using cream of tartar as it is extra insurance that my egg whites will whip up beautifully. Once the egg whites have formed soft peaks, you’ll slowly add in the granulated sugar in 3 batches. This is also the time to add flavoring to the egg whites, no more than 2 teaspoons. I used just one teaspoon of rose extract.


You want the egg whites to form stiff peaks. This means that the point won’t flop over when you take the whisk out, and when you turn the bowl upside down, they won’t move. (The whipped egg whites with sugar is called meringue) Once you’ve reached this point, it’s on to making the macaronage. What’s the macaronage? I’m glad you asked.
When to add color to macarons
If you want to color the macaron shells, you’ll want to use gel food coloring. Using liquid will thin out the batter more than we want. Add the food coloring once the meringue has formed. Mix the color into the meringue a bit before adding it to the flour/sugar mixture. The color will mix in all the way once you start making the macaronage.
What is Macaronage?
Macaronage is the meringue (whipped egg whites) mixed in with the flour and sugar, basically the batter for the macaron shells. When you’re done mixing it, it will flow off your spatula like honey.
To make the macaronage, add the meringue to the bowl with the flour/sugar mixture in three separate batches. This makes it easier to mix everything together. If you want to add food coloring, add it to the meringue and stir it in a little bit. I don’t mix it in all the way as I don’t want to deflate the meringue until it is mixed in with the flour/sugar.


I like using a spatula that has a rounded edge. I feel that it helps scrape the sides of the bowl better. I use a circular motion to mix the batter, then fold it over, and repeat this process. When the macaronage is ready, it should flow off the spatula like honey in one stream.


Make a figure eight with the batter and count to 10 as it sinks back into itself. If it takes longer than 10 seconds, it’s not ready. If it takes less than 10 seconds, it’s been over stirred.

Piping the Shells
Once you’ve determined it’s ready, pour the batter into a piping bag fitted with a small, round tip. Before adding the batter, twist the bottom of the piping bag to help prevent the batter from flowing out. I like to use the Wilton 12 tip. If you get a bigger tip, the batter will flow out too fast and will be harder to control.
I also like to put the piping bag in a large cup, then add the batter. Makes the process a bit easier. Once it’s full, squeeze the batter all the way to the bottom and roll the end down to close the bag.


Pipe the batter onto your prepared trays, holding the piping bag up right. If you’ve got the mats with the circles, pipe right onto the dot in the middle. I count to 4 then I make a C with my wrist to complete the piping. I don’t do full seconds, just count to 4. For smaller macarons, you could count to 3.
Baking the Macarons
Once you’ve piped all the batter onto your trays, you’ll want to get rid of any air bubbles. Do this by banging the trays onto the counter a few times. Air bubbles will make the macaron shells crack while baking. Once I’ve done this, I’ll look for any air bubbles that hadn’t popped and I will pop them with a toothpick. Let the macs sit for roughly 30 minutes so they can form their ‘skin’ before baking. Depending on how humid or dry it is, this could take more or less time. You’ll know they are ready when you can touch the macs and you don’t get any batter on your finger. They will feel smooth. Do not press down on them.


You can preheat the oven while the macs are drying. I wait until about 15 minutes in to the drying time. I bake mine at 325 F for 13 minutes. Each stove is different, so you may want to invest in an oven thermometer for best results. Bake each tray one at a time. Do not open the oven while they are baking as this can lower the temperature of the oven and potentially cause issues. I like to turn the oven light on so I can see them as they bake. It’s so fun when you see the feet forming.
Once they are done, remove them from the oven and let them sit for 10 minutes before gently removing them to a drying rack to fully cool down. Do not pull them straight off, you will break them. Lift the mat up under the mac you want to remove and slowly roll away the mat from the macaron. You’ll get the hang of it after a while. Let the macs cool down fully before adding the filling.

Look at those feet!
Filling for Macarons
There are so many different types of fillings for macarons. Buttercream frosting, lemon curd, ganache, jam, or whatever you can come up with. For these macarons, I’ll be using a simple vanilla bean buttercream. If you don’t have vanilla bean paste, just use extract. The ingredients needed are:
- Softened butter, unsalted
- Powdered sugar
- Vanilla bean paste or extract
- Heavy cream or milk
- Salt
You can use either a stand mixer or an electric hand mixer. Cream the butter until it’s smooth, about 2-3 minutes. Mix in the vanilla bean paste (or extract), heavy cream, and salt. Mix in the powdered sugar in small batches or it will fly all over. It should be smooth and slightly thick, not runny.
Filling the Macarons
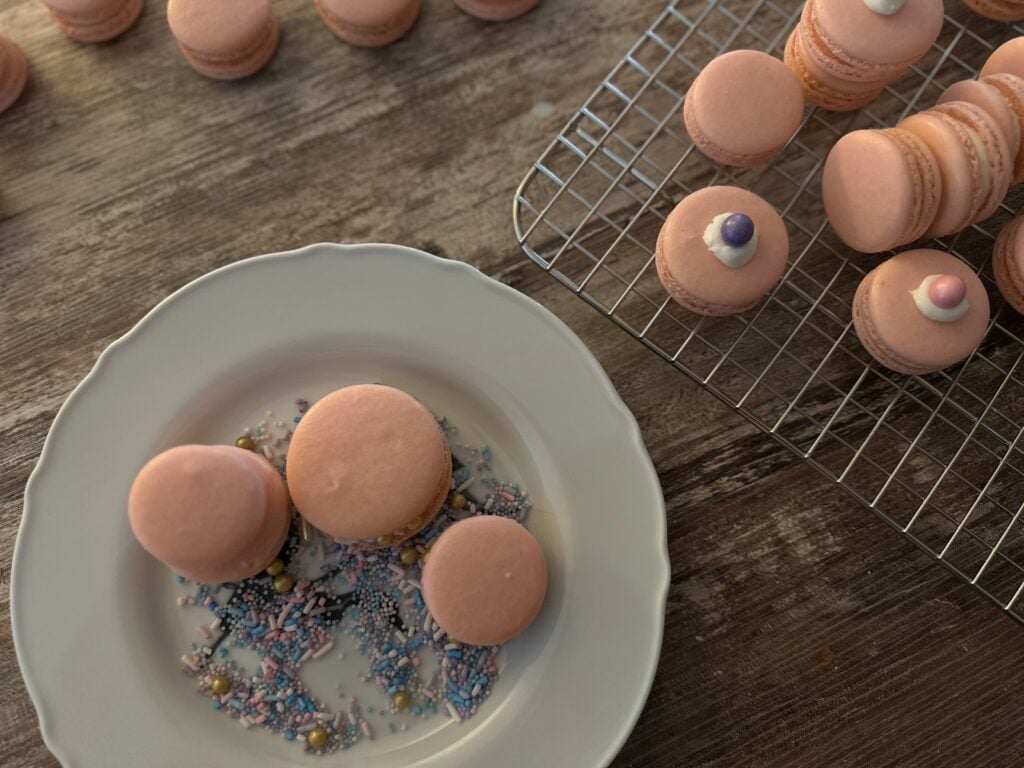
You’ve made your shells and you’ve made the filling; now it’s time to fill and sandwich the macarons. Match the macarons together by size. You’ll find that they aren’t all the same size, but they’ll be pretty close. Flip one of the shells over of the matched pairs. Fill a piping bag fitted with a small, round piping tip, (I like to use the same tip as I did to pipe the macarons) with the frosting. Pipe about a dime size of frosting onto each turned over shell. When you are done, gently sandwich the macarons. Don’t press straight down; I like to make small, circular motions as I very gently sandwich the cookies together. I do this on the flat of my fingers rather than the tips. Helps to prevent breakage.


Do I need to weigh the ingredients?
I very much highly recommend weighing your ingredients rather than using cup measurements. In fact, I only have the ingredients listed in weights. I have never used cup measurements in this recipe. If you are using cups and are having issues, definitely switch over to weighing your ingredients. You can pick up a kitchen scale at most grocery stores, and definitely on Amazon, and they are pretty inexpensive.

Troubleshooting
Cracked shells This is usually caused by too short of a rest period. You want to be sure the skin has formed on the macarons before popping them into the oven. This usually takes 30+ minutes depending on humidity levels. It can take longer though so be sure the skin has formed before popping them in the oven. There may also be air bubbles in the shells. Be sure to bang the trays firmly on the counter a few times once you have piped the shells onto them. This helps get rid of air bubbles. I also will use a toothpick to pop any stray air bubbles that may still be there. They could also be over or under-mixed.
Feet don’t form It’s possible the batter is too wet. If you do not let your shells dry properly and form a skin, you may run into issues such as the feet not forming. Be sure to age the egg whites if you run into this problem.
Hollow shells The batter could be over or undermixed. We want our batter to flow like honey off the spatula, and be sure to follow the ‘figure 8’ rule to know when the batter is ready. The heat in your oven could also be too low or too high. You may want to invest in an oven thermometer if you keep having issues with the shells.
It’s more likely than not that the first time you make macarons, they will not be perfect. This is a treat you need to bake a few times before they start turning out correctly. Do not get discouraged though! Even if they are not perfect, you can still eat them. If they’ve cracked too badly, crumble them on ice cream. If they are hollow, fill them anyway and stick them in the fridge. This sometimes helps hollow macarons to fill out. Overall, have fun and enjoy the journey.
Other Desserts to Try
- One Bowl Blueberry Lavender Bread
- Blueberry Lavender Scones
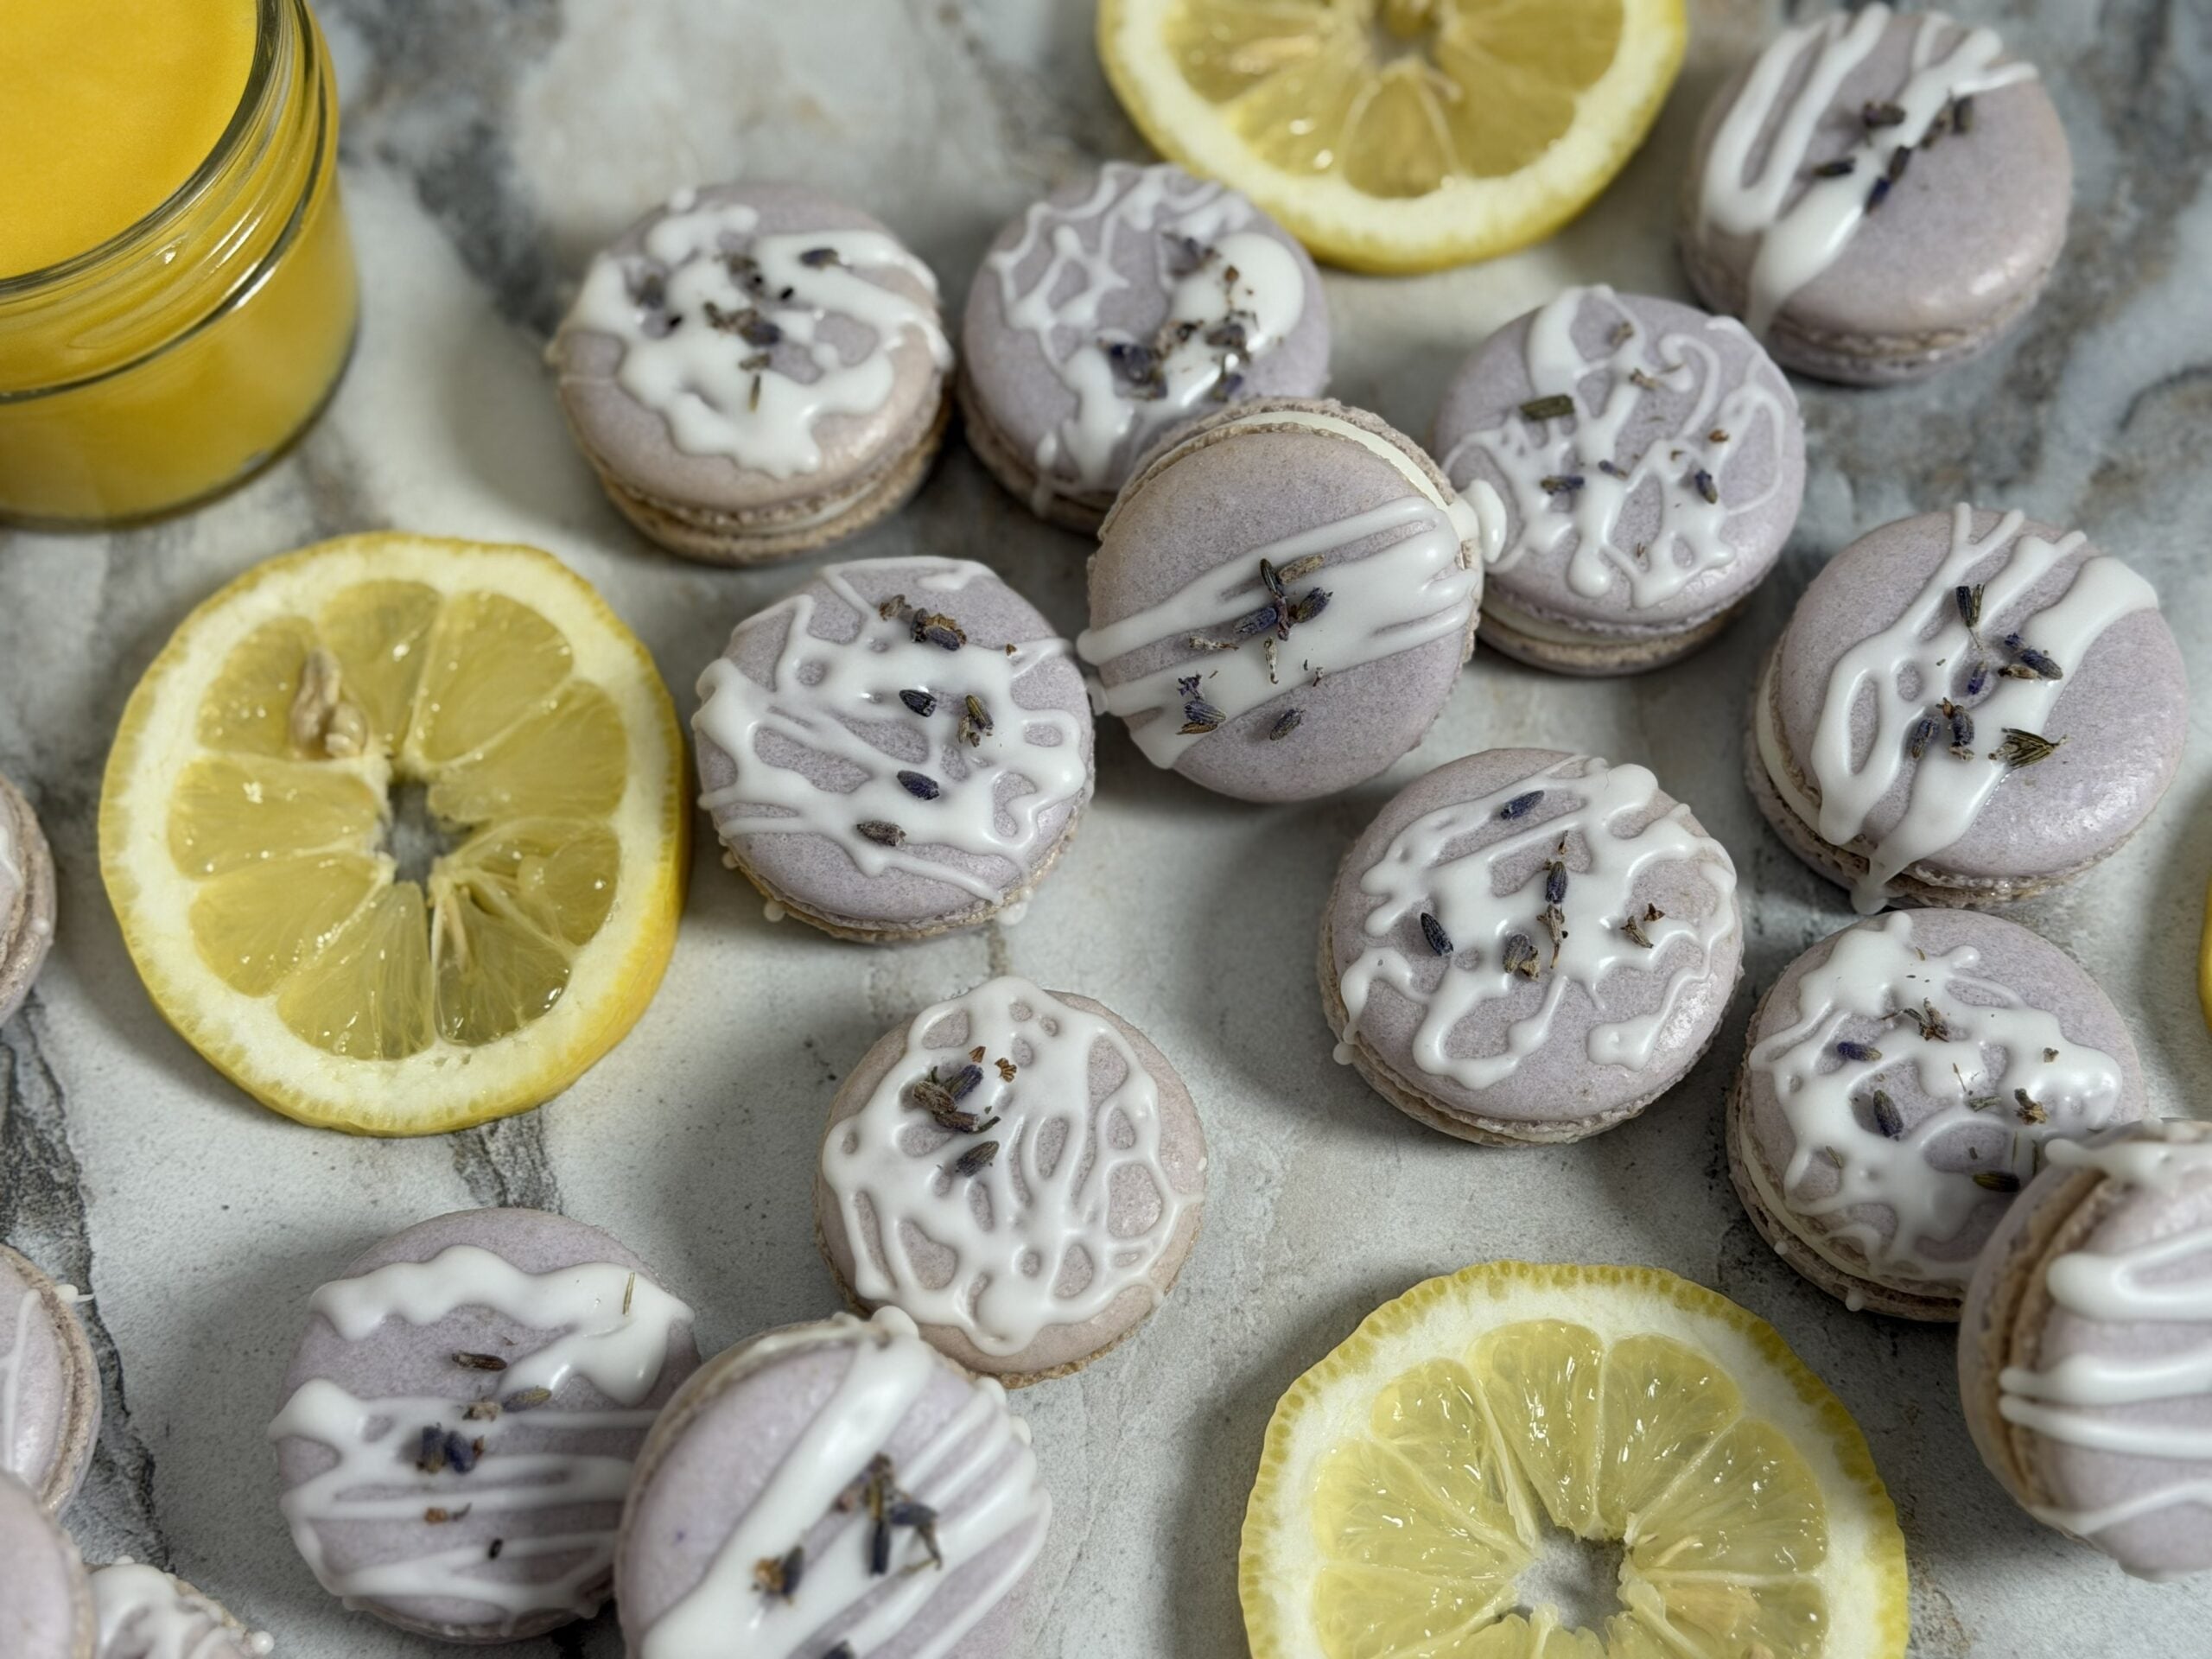
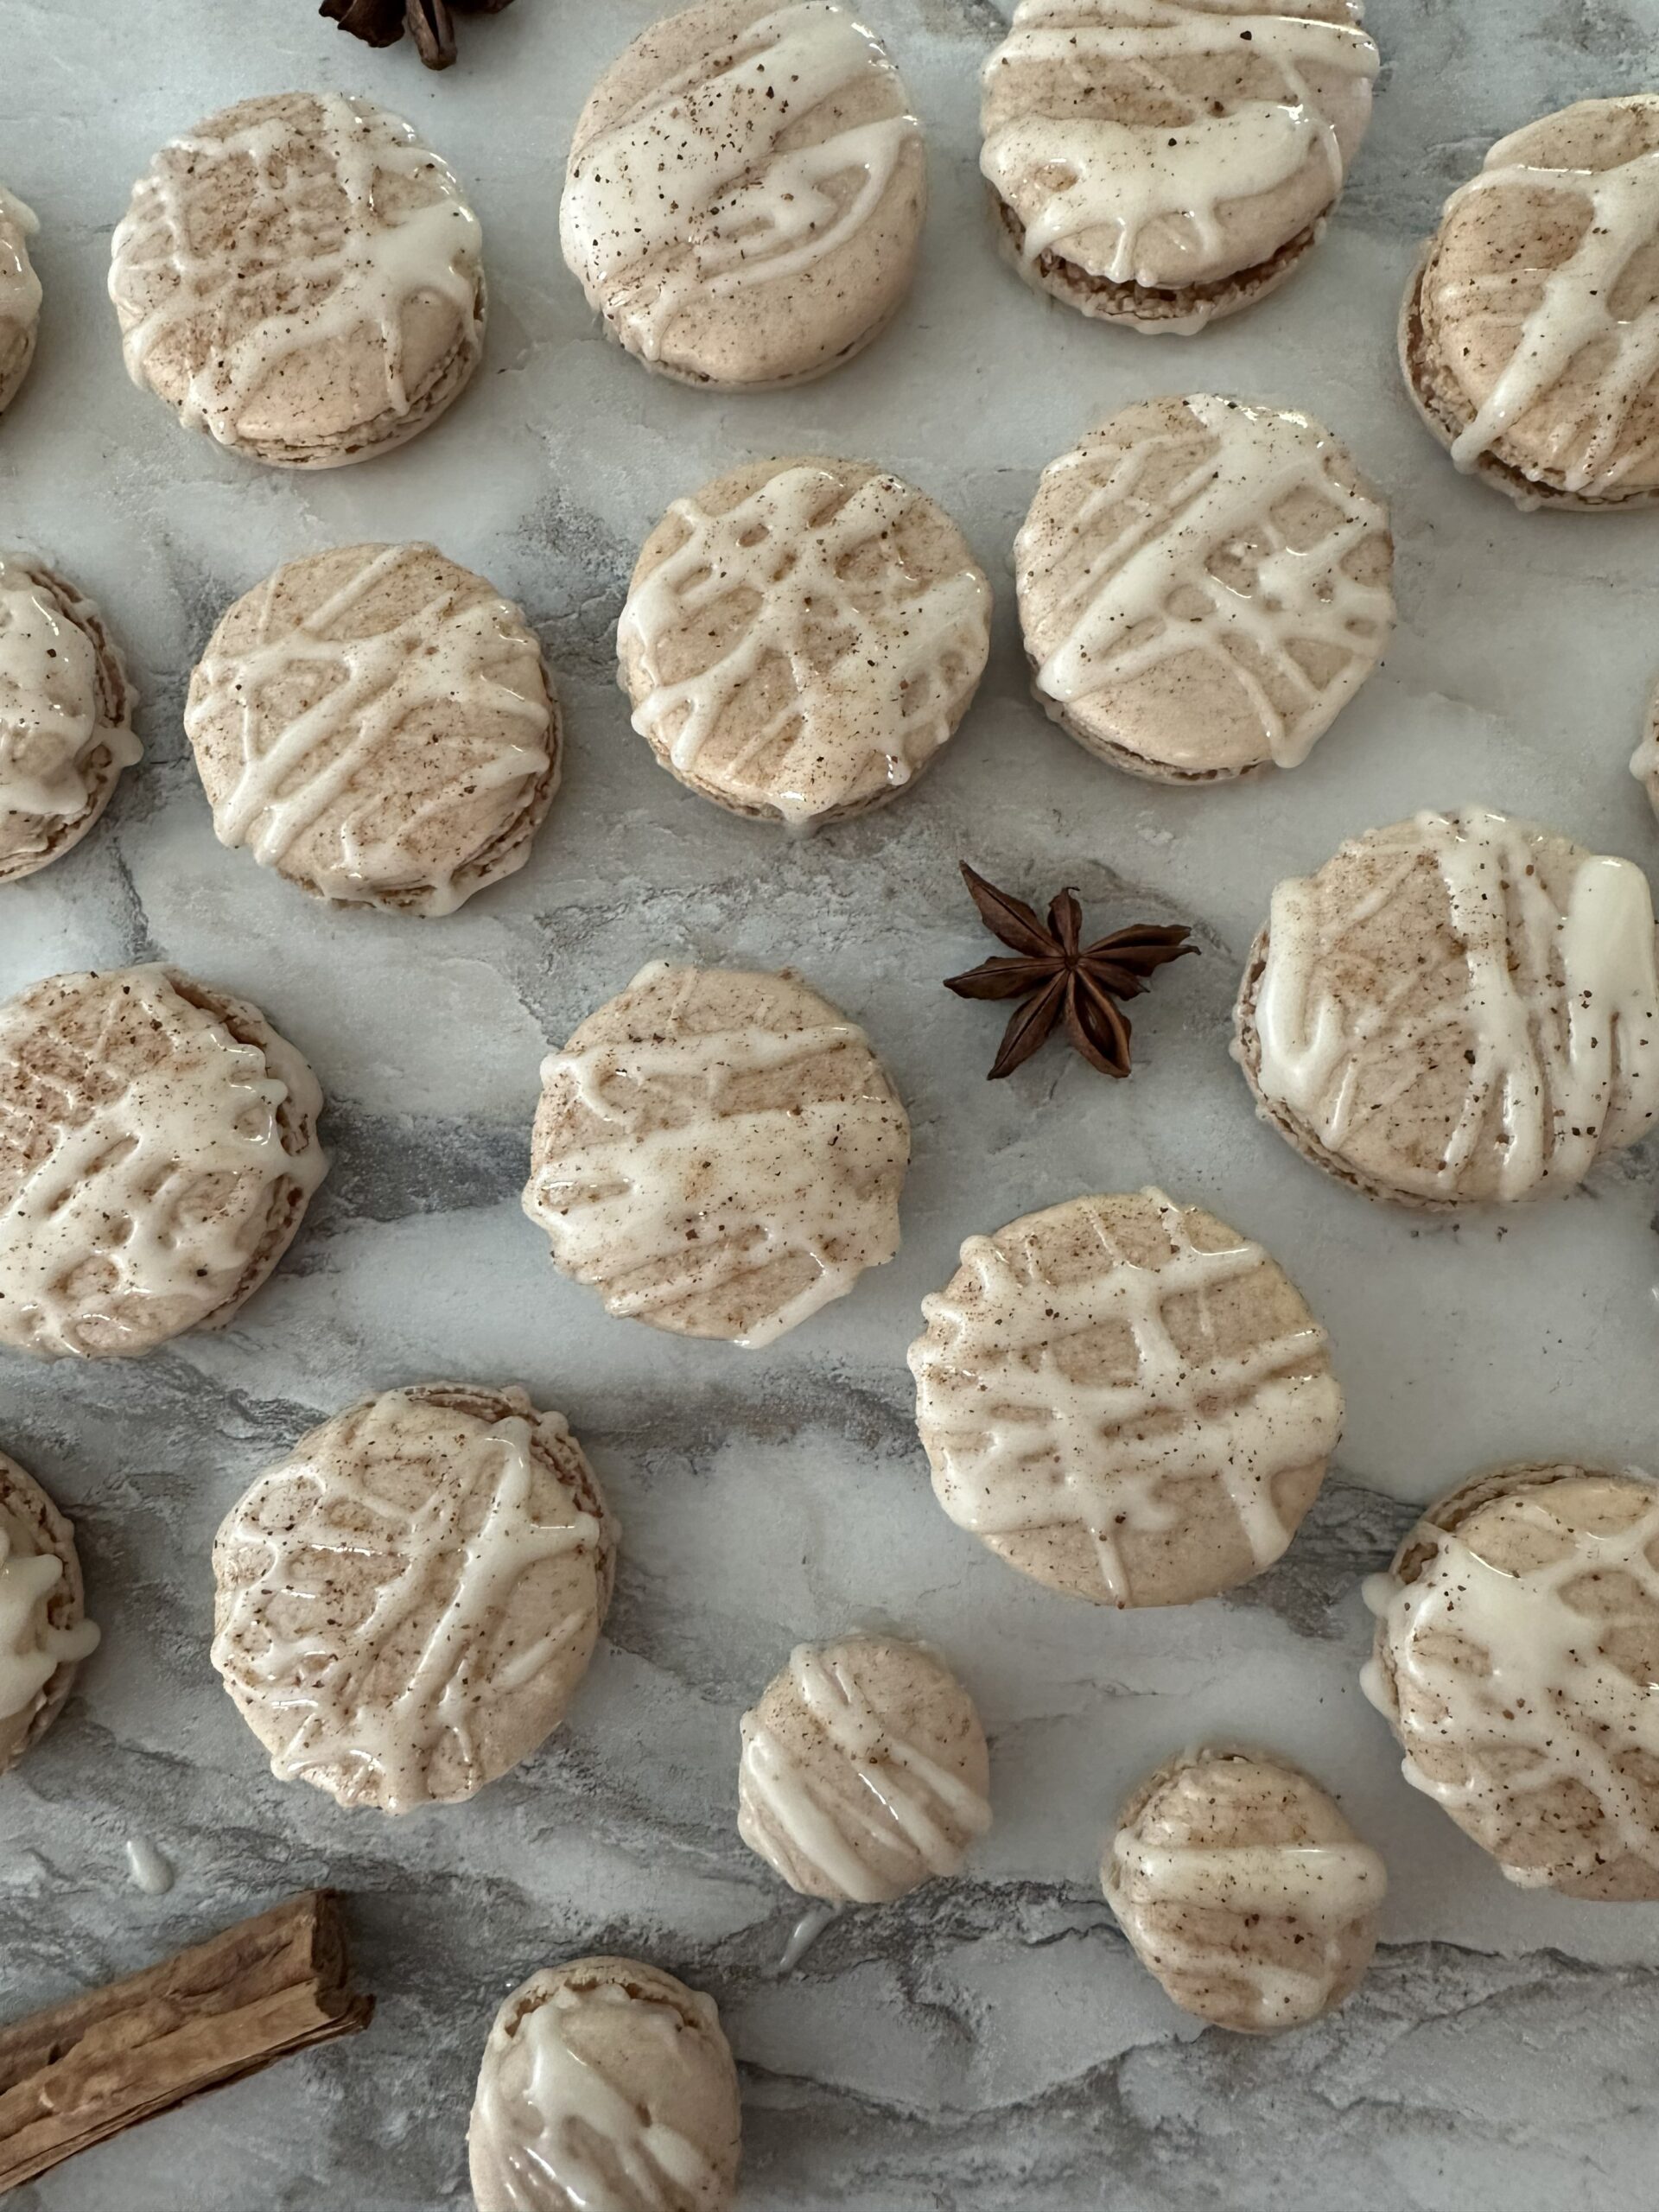
- Pumpkin Spice French Macarons
- Fig and Honey Macarons
- Mint Chocolate French Macarons
Frequently Asked Questions
For maximum flavor and freshness, store macarons in an airtight container on the counter for up to 24 hours. Layer them with parchment paper. Do not use wax paper as it will stick to the macarons. You don’t want to stack them too high as they are a delicate cookie. Store them the same way in the fridge for up to one week.
To freeze the shells, first lay them in a single layer on a large baking sheet to freeze. Once frozen, transfer them to a freezer-safe container. Line the container with parchment paper, and put parchment paper on each layer of macarons. Freeze them for up to one month. Thaw the macarons in the fridge overnight and decorate as normal.
To freeze filled macarons, follow the same instructions. Not all filled macarons freeze well, due to the type of filling they have. Buttercream and ganache would freeze well. Fillings like jams or curds would not hold up well after being thawed out, so it is recommended not to freeze those types.
It is highly recommended to age the egg whites. Ageing helps create a stronger meringue, helping it to form properly and prevent over whipping.
It is best not to use either of these products. Liquid egg whites are pasteurized and this is not ideal for making macarons. Meringue powder is not strong enough to form and hold stiff peaks. Plus, half the fun of making macarons is being able to make a beautiful, stable meringue.
Although you could try using all-purpose flour, you will likely find that the fat content is not high enough. The high fat content of almond flour is needed to form a proper macaronage.
It is best practice to weigh the ingredients for macarons. Cups are not as accurate, and these tasty treats are all about accuracy. If you use cups, you may find yourself running into issues that could be avoided by weighing the ingredients. These cookies take too much time to master, and the ingredients are pricier; why waste your time, money, and effort with cup measurements?

Vanilla Rose French Macarons
Ingredients
- 105 grams egg whites
- 75 grams granulated sugar
- 130 grams almond flour, super fine
- 130 grams powdered sugar
- 1/4 teaspoon cream of tartar
- 1 teaspoon rose extract
Instructions
Prep Work
- Wipe down the bowls with vinegar or lemon juice that you will put the egg whites into, the mixing bowl you will whip the egg whites in, and the whisk attachment you will whip the egg whites with.
- Separate the egg whites (105 grams) from the yolks. You can get a fancy egg white separator; or you can pass the egg yolk from one half of the shell to the other until all of the whites have separated from the yolk. Be sure to weigh the yolks out as you do this. Set the bowl the whites will go in on the scale and tare the weight so you don't add the weight of the bowl to the weight of the egg whites.
- Cover the egg whites with plastic wrap and poke a few holes in the wrap. Place it in the fridge overnight. If you do this the morning of making your macarons, that will be ok as well.
- Line 2 large baking sheets with either silicone mats or parchment paper.
Making the Macarons
- Weigh out the granulated sugar (75 grams), powdered sugar (130 grams), and almond flour (130 grams). Be sure to tare the weight of the container on the scale before you add anything to it. Set the granulated sugar aside.
- Sift the powdered sugar and almond flour together into a large metal or glass mixing bowl.
- Add the egg whites, rose extract (1 teaspoon), and cream of tartar (1/4 teaspoon) to the bowl of a stand mixer fit with the whisk attachment. You could also use an electric hand mixer, it would just take a lot more effort.Beat the egg whites on medium-high until you see soft track marks. This should give you soft peaks. You're not looking for anything to be stiff, just very soft. It will look really bubbly and then start to look softer and foamy.
- Reduce the speed of the stand mixer to low and add the granulated sugar into the egg whites in three batches.
- Increase the speed to high. You will see the egg whites begin to build volume. They will start to look glossy. I like to check on them a few times to see if they have formed stiff peaks. To do this, turn off the mixer and lift the whisk out of the whites. You're not done if you don't get a stiff peak that stays up without falling over. Keep whipping the egg whites and checking them every couple of minutes.
- Once you can turn the bowl upside down without the egg whites falling out, and a stiff peak forms in the bowl, they're done.
- If you're adding food coloring, use the gel kind. I use about 1/8 of a teaspoon, roughly. My food coloring comes in a little jar, so I use the end of a butter knife to get a tiny bit out and put it on a spatula and mix it in a bit to the meringue. You don't have to fully mix it in yet. Once you add the meringue to the flour/sugar mixture, it will mix in well and color the batter.
- Add the meringue into the flour/sugar mixture in three batches. It won't seem like it's mixing in well at first, but keep going and it will start to come together. When mixing the batter, we are deflating the air in the meringue essentially. Once the mixture has come together, I use my spatula to scrape the side of the bowl as I turn the bowl. I'll do a few turns, then I bring my spatula through the middle of the batter and repeat the process. You'll want to do the figure eight test after you do this a few times as you don't want to overmix the batter.
- Once your batter is ready, it's time to pipe it onto the prepared sheets. I use a reusable pastry bag and a Wilton 12 tip. Once I have the tip in, I twist the bottom part to help prevent the batter from flowing out once I add it. I like using a large cup-like container to put the bag in. This makes it easier to scoop the batter into the bag.
- Once you've got the batter in the bag, take the entire container over to your prepared sheets. Roll the top of the bag down and take it out of the container. Untwist the bottom. There will probably be a bit of air in the bag, so gently squeeze the bag to remove the air and to get the batter flowing. It will start flowing out right away. You can tip the bag up to help prevent this as you move to your trays.
- Holding the bag upright over the middle of a pre-printed circle (if you are using this type of silicone mat), squeeze the bag and count to 4. Not 4 seconds, just 4. Then make a small C motion with your wrist while pulling up to complete the macaron shell. Move to the next circle and repeat this process until you have your sheets filled. You will have a bit of batter left over.
- The macarons will have small air bubbles in them. Bang the trays of macarons firmly on the counter a few times to help pop the bubbles. It is pretty loud. I will pop my earbuds in while I do this as it is a bit loud for me. You may find that there are still some air bubbles that need to be popped. Using a toothpick, gently pop any remaining air bubbles you see. I like to get down at eye level with the macarons. Sometimes the bubbles are obvious, but not always. Look for places where the batter seems a little thinner, that's usually a bubble. It will get easier finding the bubbles the more you make them.
- Now it's time for the macarons to form their skin. It usually takes 30 minutes but can take longer depending on how humid it is. You will be able to lightly touch the macarons with a finger and not make an indent once the skin has formed. I like to preheat my oven about 15 minutes into the waiting time. Preheat to 315 F.
- Once the skin has formed on your macarons, pop them in the oven on the middle rack one tray at a time. Bake them for 13 minutes. The feet should have formed and the shells will go from glossy to matte. Oven temps can vary, so you may want to invest in an oven thermometer
- Once the macarons have finished baking, remove them from the oven and let them sit for 10 minutes, then remove them to a baking rack to cool completely. Be careful when removing them. They are delicate. I don't pull them from the top, I put my hand under the mat and peel it away from the macaron. I have not tried this with parchment paper as I have only ever used silicone mats. I imagine it would work the same though.
Assembling the Macarons
- To assemble the macarons, you will need to first match them up as best as possible. Once you've matched them, flip one over from each pair. Using a pastry bag filled with your preference of filling (we are using buttercream frosting), put about a dime-sized amount of frosting onto the turned-over shells. Once the shells are frosted, gently sandwich the sets together. I press the shells together softly, using a circular motion to help spread out the filling. Do not press too hard as you could crush the shells. They are very delicate. Complete this process until you have all of the macarons sandwiched together.
- If you can resist eating them, let the macarons sit in the fridge overnight; or a few hours at minimum. Though I have eaten them right away and they are just as delicious as ever.
Notes
- Store macarons in an airtight container on the counter for 24 hours. It is best to layer them with parchment paper. Do not use wax paper as it will stick to the macarons. You don’t want to stack them too high as they are delicate. Store them the same way in the fridge for up to one week.
- To freeze the shells, first lay them in a single layer on a large baking sheet to freeze. Once frozen, transfer them to a freezer-safe container. Line the container with parchment paper, and put parchment paper on each layer of macarons. Thaw the macarons in the fridge overnight and decorate as normal.
- Be sure to wipe down your bowls and whisk you will be using to whip the egg whites in with vinegar or lemon juice.