Easy Maple Pecan Scones
Maple and pecan is right up there as one of the most quintessential holiday flavors along with apple and cinnamon, cranberry and orange, and peppermint and chocolate. These maple pecan scones embody the warmth of fall with their buttery crumb, nutty crunch, and sweet maple glaze that makes every bite feel like a comforting morning treat.

Why I love these scones
Taste I love how these scones turned out! The maple pecan flavor is perfect for fall.
Smell You will definitely be thanking yourself once these are baking in your oven. The smell is divine!
Ease of making These scones are dangerously easy to make.
Would I make these again? Over and over again! They are so good and go perfectly with your morning coffee. I’d bake these scones just for their smell.
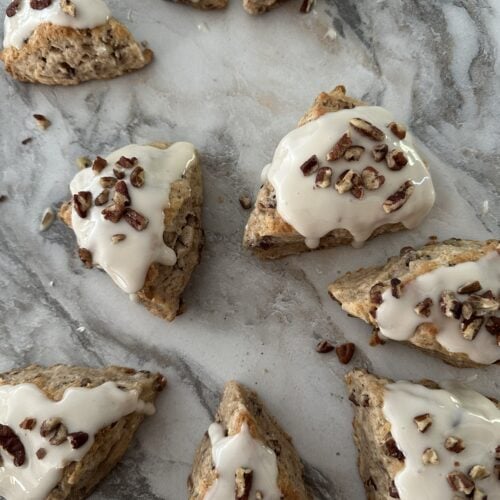
These maple pecan scones have crisp, golden edges and a soft, tender center. The rich maple flavor pairs perfectly with toasted pecans, and a simple maple icing takes them to the next level. They’re easy to make and just right for a weekend breakfast or fall brunch.
This recipe uses simple pantry ingredients and a few key techniques to get the best texture- soft inside, slightly crisp on the outside. The icing adds the perfect amount of sweetness, but you can leave it off if you prefer something less sweet or plan to serve them with jam.
Make It Brunch
To make a complete brunch spread, pair these maple pecan scones with my Lemon Orzo Pasta Salad, Easy Chicken Salad, my Easy Air Fryer Sweet Potatoes, and my Easy Air Fryer Brussels Sprouts. This gives your guests just enough variety to choose what they want.
Recipe Tips
Ingredients

Most of the ingredients for these scones are pantry staples-flour, sugar, butter, baking powder, and a few others you probably have on hand. But there are a few key ingredients that really make these scones shine.
- Maple syrup Just a little goes a long way. This is used in both the scone dough and the icing on top to give these scones that unmistakable maple flavor.
- Crushed pecans The nutty flavor of pecans runs throughout the scones and adds a satisfying crunch on top. A sprinkle over the icing brings even more pecan goodness in every bite.
- Heavy cream Adds richness and helps create that soft, tender texture that makes a great scone irresistible.
Making maple pecan scones
One thing I love about scones is how easy they are to make — and these are no exception. They come together quickly, with just a brief 20-minute chill time (perfect for cleaning up while you wait).
Cube the butter and set it in the freezer while you prepare the dry ingredients.
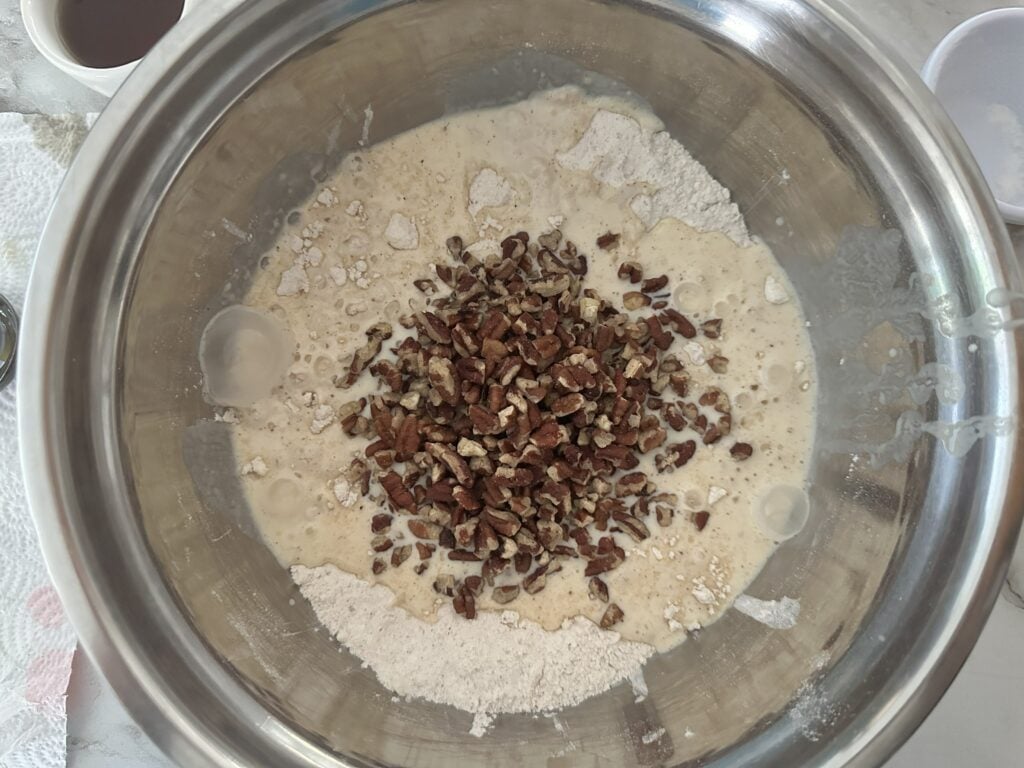
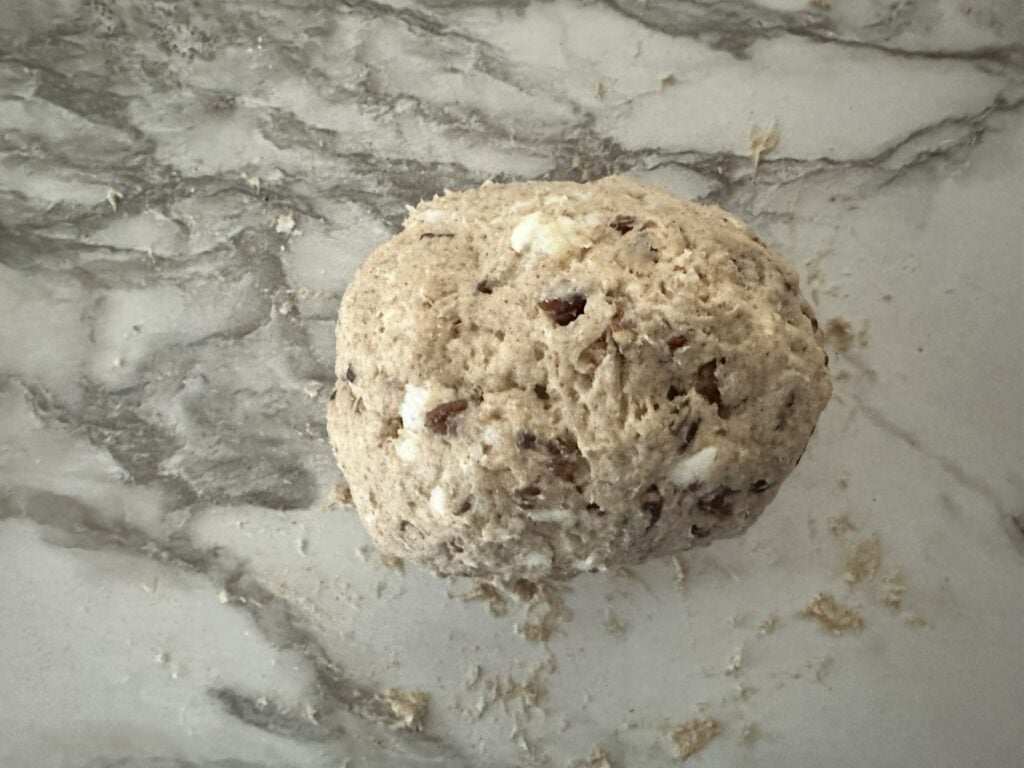
Start by whisking the dry ingredients together, then mix the wet ingredients in a separate bowl. Cut the butter into the dry ingredients with a pastry cutter until it resembles coarse crumbs, then pour in the wet ingredients and add the chopped pecans. Stir until a shaggy dough forms.

Work the dough into a ball, then do a quick lamination process by flattening the dough, folding it in half twice, and repeating the process two more times. This will help us get those nice, flaky layers and help the scones rise tall in the oven.
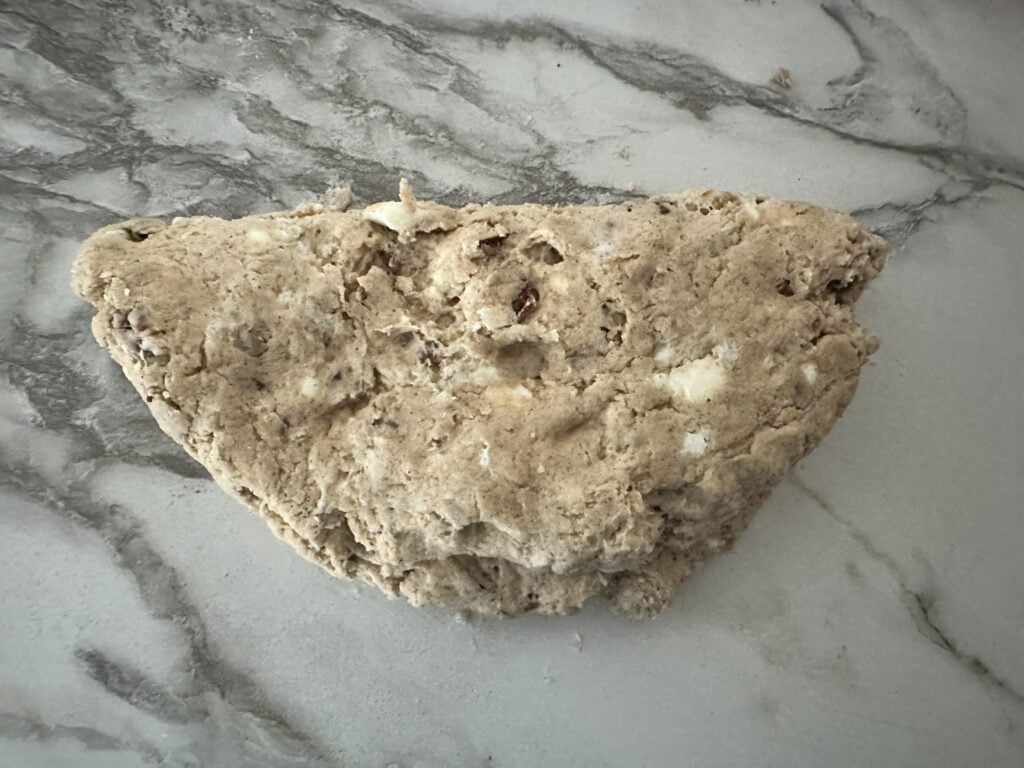

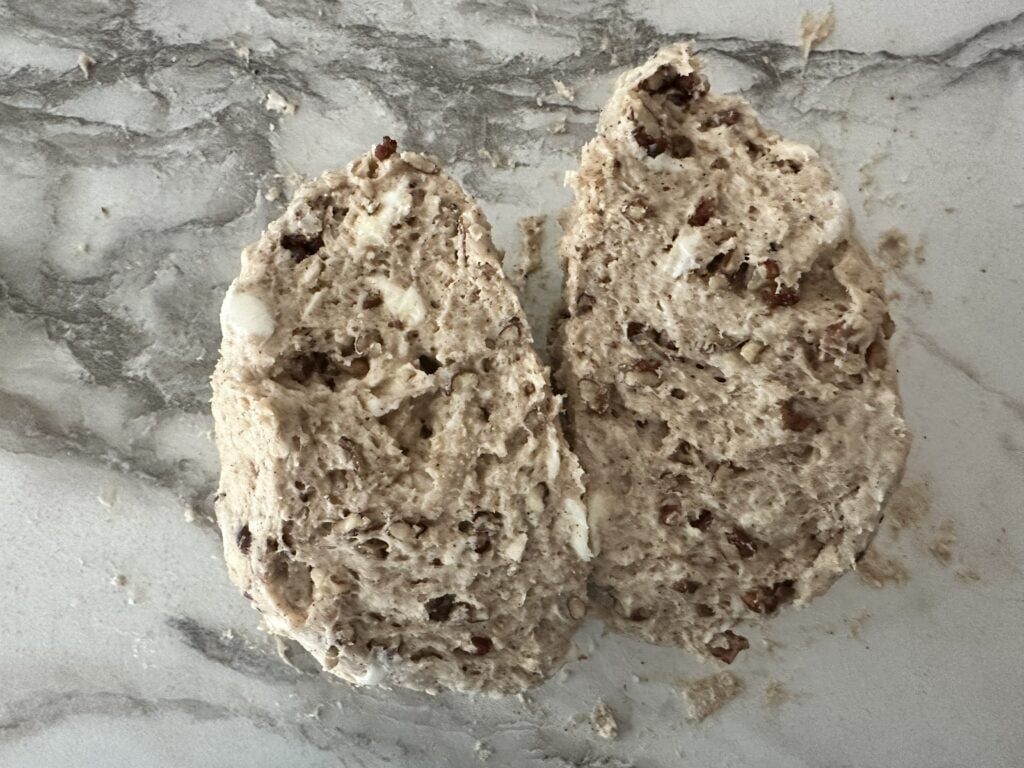
Form the dough into a ball again and divide it in half.
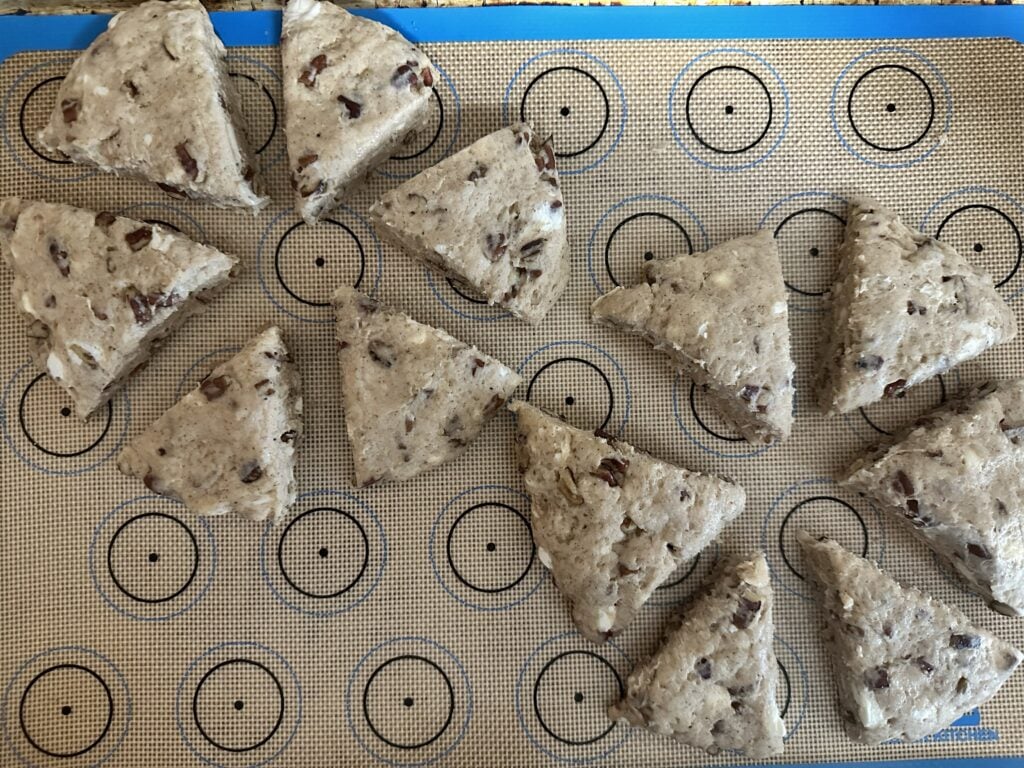
Shape each half into a 6-inch disc on a parchment- or silicone-lined baking sheet. Slice each disc into six wedges and separate them slightly so they have room to bake up beautifully. Freeze the scones for 20 minutes while the oven preheats, then bake for about 20 minutes.

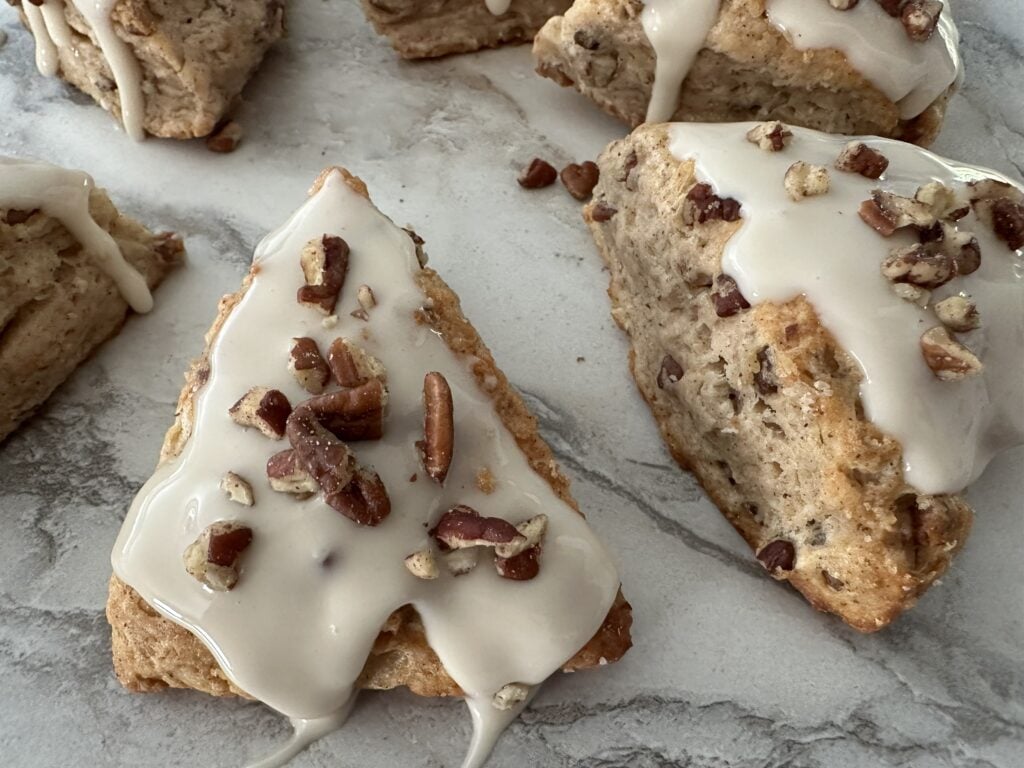
Look at that delicious glaze! If you don’t decide to add the glaze (what!?), then brush the tops with some milk or heavy cream and sprinkle on some coarse sugar for a nice crunch and a crispy, browned topping.
More fall scones to try
FAQ’s
Store scones in an airtight container in the fridge for up to 5 days. They can also be stored in an airtight container on the counter for 3 days.
Yes, they freeze great. Make the recipe up until the point where you flatten the discs. Wrap the discs in plastic wrap and tinfoil, then add to a freezer safe container and freeze for up to 3 months. Likewise, you can freeze the scones after you have cut them into triangles. Lay them flat on a tray and freeze them solid. Then, add them to a freezer safe container and freeze for 3 months, to be used when you only feel like baking one scone.
COLD butter! The milk/cream and yogurt should be cold as well. When the cold ingredients hit the oven, they release steam as they bake, helping to creating those flaky layers. It’s also important not to overmix the dough. Mix it just until it comes together. We only want to handle it just as much as we need to. Remember to chill scones after forming them and before baking them. This ensures the butter is cold when it goes into the oven.
Maple Pecan Scones
Ingredients
Pecan Scones
- 8 tablespoons butter, unsalted
- 2 1/2 cup all-purpose flour
- 1/2 cup sugar
- 1 egg
- 1 tablespoon baking powder
- 1/2 cup yogurt
- 2 tablespoons milk/cream
- 1/4 cup maple syrup
- 1/8 teaspoon salt
- 1 teaspoon vanilla
- 1/2 cup chopped pecans
- 1 teaspoon cinnamon
- 1 teaspoon nutmeg
- 1/2 teaspoon cardamom
- 1/2 teaspoon cloves
Maple Icing
- 1 cup powdered sugar
- 1 tablespoons maple syrup
- 1 tablespoon milk
- 1 teaspoon milk
- 1/4 cup chopped pecans
Instructions
Maple Pecan Scones
- Line a baking sheet with either a silicone mat or parchment paper.
- Cube the butter, then set it in the freezer while you prepare the rest of the ingredients.
- Whisk the dry ingredients together: 2 1/2 cups flour, 1/4 cup granulated sugar, 1 tablespoon baking powder, 1 teaspoon cinnamon, 1 teaspoon nutmeg, 1/2 teaspoon cardamom, 1/2 teaspoon cloves, and 1/8 teaspoon salt.
- Whisk together wet ingredients in a small bowl. Whisk the egg first, then add the 1/2 cup yogurt, 1/4 cup maple syrup, and 1 teaspoon vanilla extract.
- Cut the butter into the dry ingredients till it resembles pea gravel. Add the wet ingredients to the dry ingredients. Add the 3/4 cup chopped pecans. Mix everything together until it forms a shaggy mass. At this point, you'll want to get in there with your hands to form the dough into a dough ball. You don't want to overhandle the dough as the butter can start to melt.
- Now it's time to laminate the dough. Flatten the dough ball, fold it in half twice, then repeat the process two times.
- After the lamination process, form the dough into a ball again and cut it in half to form two smaller dough balls. Flatten each dough ball into a 6-inch disc right onto the baking sheet. Slice the discs into 6 roughly equal triangles. Pull the triangles apart so the sides are not touching each other. This will help the scones bake up with a nice, firm edge.
- Set the tray of scones in the freezer for 20 minutes. If you can't fit the tray in there, lift the silicone mat or parchment paper off the tray with the scones and set in the freezer. Preheat the oven to 350°F.
- After 20 minutes, take the scones out of the freezer. If desired, brush the tops with heavy cream and sprinkle with coarse sugar. This part is optional since we will be adding icing and chopped pecans on top. Bake for 20 minutes. You'll notice the scones will have golden edges when they're done.
- Although these scones are just as delicious cold as they are warm, there's something so wonderful about a scone fresh out of the oven. Do yourself a favor and eat one right away. I won't tell anyone.
Maple Icing
- Add the 1 cup powdered sugar, 1 tablespoon maple syrup, and 1 tablespoon plus 1 teaspoon of milk to a small bowl. Stir until smooth. You can sift the powdered sugar beforehand if desired.
- Once the scones have completely cooled down, drizzle the icing all over them. Top with some chopped pecans and serve fresh.
Notes
- Store scones in an airtight container in the fridge for up to 5 days, or in a container on the counter for 3 days.
- If using salted butter, omit the salt from the recipe.
- To freeze scones, wait until the scones are cooled down completely. Wrap them in plastic wrap, then foil, and store them in a freezer-safe container for up to 3 months.
- To freeze before baking, make the scones all the way through slicing the scones. Freeze flat on a tray, then wrap individually in plastic wrap and tinfoil and store in a freezer-safe container. Freeze for up to 3 months. If you want to freeze the discs, wrap them in plastic wrap then tinfoil before freezing as well. Thaw out overnight in the fridge before slicing into triangles. When you’re ready to bake them, if baking from frozen, bake at the regular temperature and add 1-2 minutes to the baking time. You can also thaw them out in the fridge overnight and bake at the regular time and temperature.