Kitchen Sink Cookies
I always thought the name of these cookies was so funny, but it makes sense when you realize that, yes, these cookies do have everything but the kitchen sink in them. In my opinion, you could also call these ‘What’s in my cupboards’ cookies, but that doesn’t have as nice of a ring.
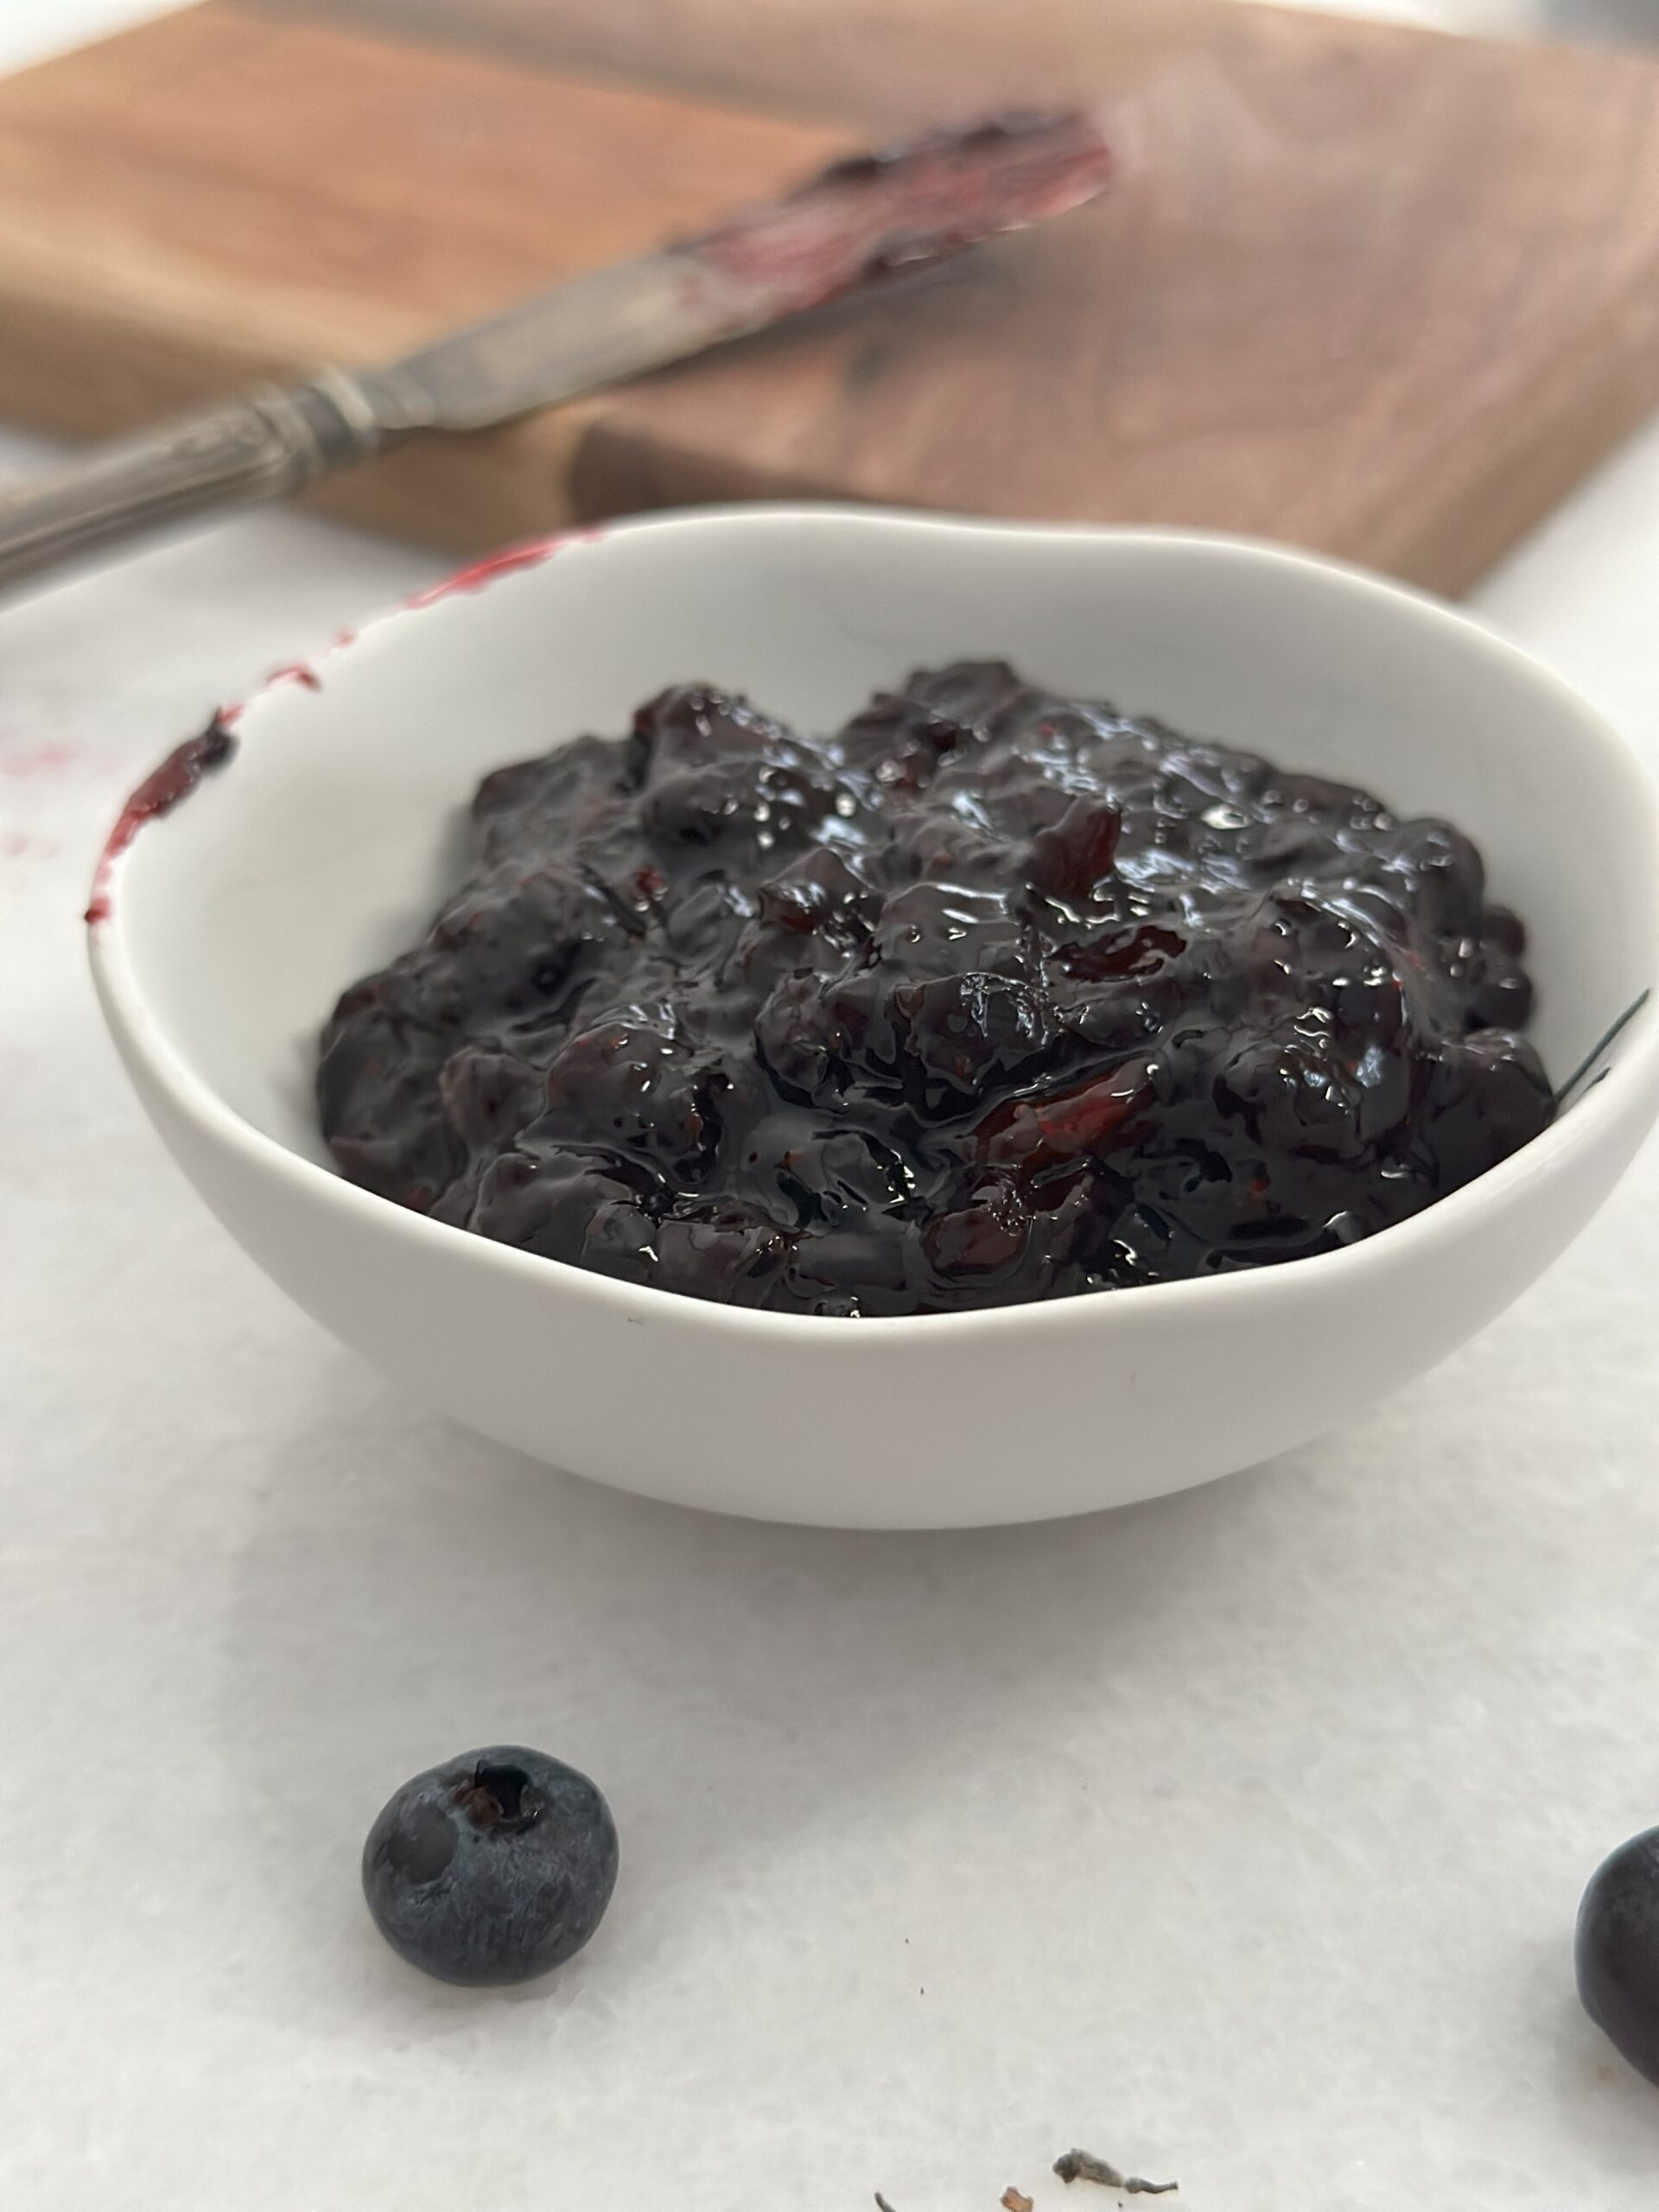
I love that these cookies have a bit of everything in them and that they really are so customizable. The reason I refer to these as ‘what’s in my cupboard’ is because you can just look in your cupboard to see what odds and ends you have left over from previous cooking adventures and throw them in these cookies. Raisins, pretzels, peanuts, almonds, hazelnuts, chocolate chips, peanut butter chips, and the list goes on. I have a bag of baking chips in my freezer that is a mix of chocolate, white chocolate, butterscotch, etc. When I have used up most of one kind of baking chip, I throw the extra in this bag, giving me a variety of flavors in one bag. Into the cookies it went. These cookies are a delicious way to use up those little bits of add-ins that you have left over and don’t know what to do with.
These cookies use my Chocolate Chip cookies as their base. If you like these cookies, try my Peanut Butter Cookies, or for something different, try my Pastelitos de Guayaba y Queso.
Different Mix-Ins
- Different baking chips- chocolate, white chocolate, peanut butter, butterscotch
- Toffee
- Peanuts, hazelnuts, almonds, pecans, walnuts
- Pretzels
- Potato chips
- Dried cranberries, currants, raisins, dried cherries, dried blueberries
- Ginger pieces
- Coconut flakes
Ingredients

The Basics
- Flour, sugar, butter, egg, salt, milk, vanilla
Mix-Ins
- Variety of baking chips-chocolate, white chocolate, peanut butter, butterscotch, cinnamon; hazelnuts; coconut flakes; dried currants, rainbow sprinkles
Making Kitchen Sink Cookies
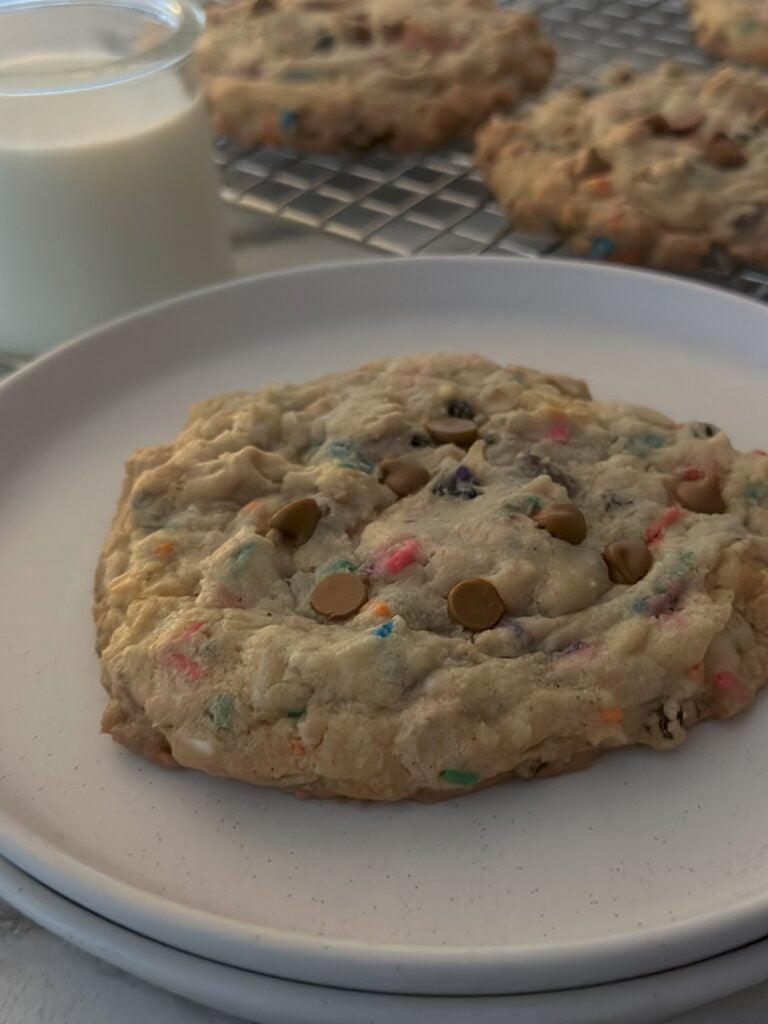
This recipe uses my standard chocolate chip cookie recipe, then I just throw all the add-ins in. Simple and quick. I also made these cookies about twice the size of normal cookies, cause who doesn’t want a giant cookie? Feel free to make them regular size though.
I like to use my stand mixer to make these cookies. I find that it makes it easier to mix the batter. You could use an electric hand mixer as well. The basic recipe is simple-add the dry ingredients together in a medium size bowl, minus the sugar.


In the stand mixer, cream the butter and sugar together for about 60 seconds. I like to cream the butter first for about 60 seconds.


Add the egg and mix until fully combined. Mix in the milk and vanilla. Add the flour mixture into the wet ingredients in three separate batches, unless you like cleaning up flour. Start the mixer out slowly to help prevent flour from getting all over everything.


Now it’s time for the add-ins. I like to add two at a time so as not to completely overwhelm the stand mixer.


Portion out the cookie dough onto two baking sheets lined with either parchment paper or silicone baking mats. I made these cookies extra large, so I actually used an ice cream scoop to scoop out the dough. They were roughly the size of golf balls. You can make yours half this size if you would like. Or just make them large. Go big or go home, right? I’m going home, but I’m going to take one of these cookies first.


Pop the trays in the fridge for 20 minutes and preheat the oven to 350 F. You can use this time to reflect on your life, or you can clean up. After 20 minutes, bake the cookies one tray at a time for 20 minutes. The cookies will be slightly golden on the edges and very soft in the center. Let them sit for 10 minutes before removing them to a baking rack to cook completely. You can enjoy one while it’s still warm, but it will be very soft and seem slightly underbaked in the center. The cookies will look puffy in the oven but will sink down as they cool. Once they cool down, they will fully firm up.

Frequently Asked Questions
These cookies should be store in an airtight container in the fridge for 7 days for freshest tasted and texture. They can also be stored on the counter top in an airtight container for 7 days.
Yes, these cookies freeze wonderfully. They can be frozen either before or after baking them. Store in an airtight, freezer safe container and freeze for up to 3 months. To freeze before baking, scoop dough into balls and freeze on a tray. Once frozen, transfer the dough balls to a freezer safe container and freeze for up to 3 months. When ready to bake, bake as directed, adding a few minutes to the baking time. Cookies should be golden brown on the edges and soft in the middle.

Kitchen Sink Cookies
Ingredients
- 2 cups all-purpose flour, spooned and leveled
- 1/2 cup butter, room temperature
- 1 egg, room temperature
- 1/2 cup granulated sugar
- 1/2 cup brown sugar
- 1/4 teaspoon baking powder
- 3/4 teaspoon baking soda
- 2 tablespoons milk
- 1/4 teaspoon salt
- 1 teaspoon vanilla extract
- 1 cup baking chips (chocolate, white chocolate, etc)
- 1/2 cup chopped nuts (peanuts, hazelnuts, almonds, etc)
- 1/2 cup dried currants or raisins
- 2/3 cup shredded coconut
- 2/3 cup rainbow sprinkles
Instructions
- Line two baking sheets with parchment paper or silicone baking mats.
- Mix dry ingredients together: 2 cups flour, 1/4 teaspoon baking powder, 3/4 teaspoon baking soda, 1/4 teaspoon salt.
- Using a stand mixer fit with the paddle attachment, or a hand mixer, cream together the 1/2 cup butter, 1/2 cup granulated sugar, and 1/2 cup brown sugar.
- Mix in the egg for about 30 seconds. Mix in the 1 teaspoon vanilla and 2 tablespoons of milk.
- Slowly add the dry ingredients to the wet ingredients. I like to do this in three batches to prevent flour from flying all over.
- Scoop out roughly a golf ball size of dough and place onto baking sheet. I used an ice cream scoop and got about 9 cookies. You can make them smaller if you like.
- Put the sheets of dough in the fridge and let them chill for 20 minutes while you clean up. Preheat the oven to 350 F.
- Bake the cookies one sheet at a time, on the middle rack, for 18 minutes.
- Once done, remove the cookies from the oven and let them rest for 5 minutes. The cookies will be very soft in the middle and look slightly underdone. Don't worry, they will finish cooking from the residual heat. Let them cool down all the way before eating. Or, enjoy an ooey-gooey one, if that's your thing.
Notes
- For freshest results, store cookies in an airtight container in the fridge for 7 days. Cookies can sit out on the counter, but should still be in an airtight container to prevent them from drying out.
- Cookies freeze very well. Store in an airtight, freezer safe container in the freezer for up to 3 months.
- You can also freeze the cookie dough. I recommend scooping them into individual dough balls and freezing them on a tray. Once they are frozen, transfer them to a freezer safe container and freeze for up to 3 months. To bake them, remove however many you want and bake at 350 F for a few more minutes than normal. They should be golden on the edges and soft in the middle.